LED light strips are a popular choice for home and commercial lighting. They are versatile, energy-efficient, and easy to install. One question that often arises is, “Can you cut LED light strips?” The answer is yes, but there are important considerations to keep in mind. This article will delve into the details of cutting LED light strips, including the methods to do so, best practices, and safety precautions.
 Understanding LED Light Strips
What Are LED Light Strips?
LED light strips are flexible circuit boards covered with tiny LED lights. They come in various lengths, colors, and brightness levels. These strips offer numerous applications, from decorative lighting to functional task lighting. They can be used in homes, offices, and even outdoor spaces.
Types of LED Light Strips
Before you cut your LED light strips, it’s essential to understand the different types available. Generally, they fall into two main categories:
- Single Color Strips: These emit one color of light, perfect for simplicity.
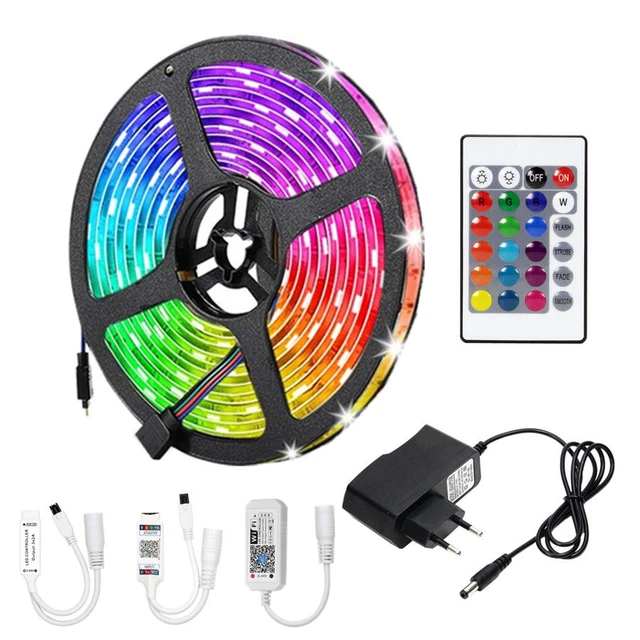
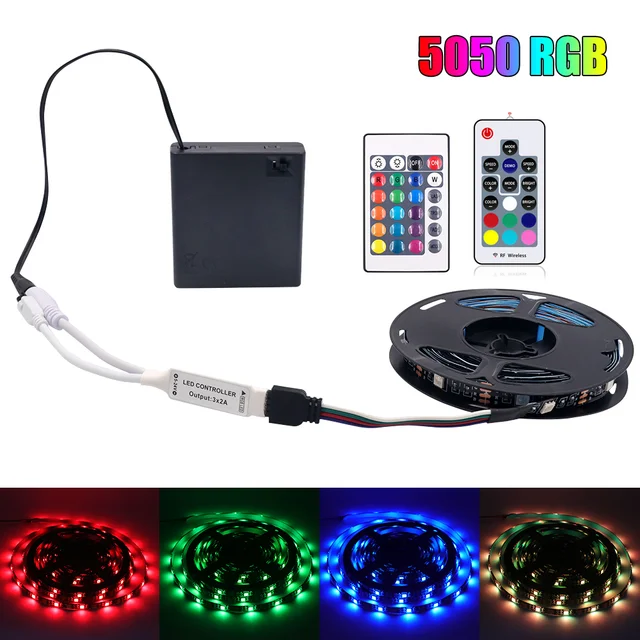
- RGB Strips: These can change colors and are popular for creating dynamic lighting effects.
Components of LED Light Strips
LED light strips consist of various components, including:
- LED Chips: These are the individual lights that emit light.
- Circuit Board: This is the flexible part that holds the LEDs.
- Adhesive Backing: Most LED strips come with a sticky backing for easy installation.
 Can You Cut LED Light Strips?
The Answer
Yes, you can cut LED light strips. However, it is crucial to cut them along specific markings. Cutting at the wrong place can damage the strip and render it unusable.
Where to Cut?
Most LED strips have designated cut lines. These lines are usually marked with a scissor icon. When you cut the strip, it should be done within these lines to ensure both halves function correctly.
How to Cut LED Light Strips
Tools You Will Need
Before you start cutting, gather the necessary tools:
- Sharp Scissors or a Utility Knife: To make a clean cut.
- Ruler: To measure where you want to cut.
- Marker: To mark the cutting lines if needed.
- Soldering Kit (if rejoining or extending the strip): For reconnecting the copper pads.
Step-by-Step Guide
- Measure the Length: Determine how long you need your LED strip to be. Measure twice to confirm accuracy.
- Mark the Cut Line: Use a marker to indicate where you will cut, aligning it with the designated cut line.
- Cut: Using sharp scissors or a utility knife, make a clean cut across the LED strip at the marked line.
- Prepare the Ends: If you plan to reconnect your cut strips, you may need to strip the ends or solder wires to them.
- Test the Strip: Before permanently installing the LED light strip, connect it to power and test it to ensure both sections work.
 Best Practices for Cutting LED Light Strips
Know Your Strip
Before cutting, it’s important to read the manufacturer’s instructions. Some strips may not be designed to be cut, while others may have specific requirements or limitations.
Use the Right Tools
Always use sharp and appropriate cutting tools. Dull scissors can lead to tear and fray the strip.
Make Precise Cuts
Careful measuring and marking prevent mistakes. Use a ruler to ensure straight cutting.
Reconnecting the Strips
If you cut the strips but wish to connect them later, ensure you understand how to solder the wires properly. Incorrect soldering can lead to shorts and malfunction.
 Connecting Cut LED Light Strips
Why You Might Need to Connect Them
After cutting, you may want to extend or reconnect the two segments. This could be necessary if you want to cover a larger area.
Methods to Connect LED Strips
- Using Connectors: The easiest way is to use LED strip connectors. They do not require soldering and are user-friendly.
- Soldering: If connectors are not available, soldering might be the way to go. This requires some skill but can create a reliable connection.
Steps for Soldering
- Clean the Ends: Use a utility knife to gently scrape off the adhesive and coating to expose the copper pads.
- Tin the Pads: Apply a little solder to the exposed copper pads.
- Attach Wires: Heat the solder and place your wire on it, allowing it to melt slightly to create a connection.
- Secure Connections: Make sure all solder points are secure and insulated.
- Test Your Work: As always, test the connection before final installation.
Troubleshooting Common Issues
Strip Won’t Light Up
If your LED strip does not turn on after cutting and reconnecting, check the following:
- Ensure all connections are secure.
- Confirm your power supply is compatible with the strip.
- Look for any damage to the LED strip itself.
Uneven Brightness
If one section is brighter than the other, it could be due to a poor connection or insufficient power supply. Make sure to check wiring and connections.
Flickering Lights
Flickering can be attributed to several factors:
- A weak power supply.
- Poor connections.
- Incompatible voltage ratings.
Fixing Common Faults
If you experience any of these issues, troubleshoot by reversing the last steps taken. It may require checking connections and ensuring compatibility with your power supply.
Several reasons:
LED light strips have become increasingly popular for several reasons:
Versatility: They can be used in various settings such as homes, offices, and outdoor spaces, making them suitable for both ambient and accent lighting.
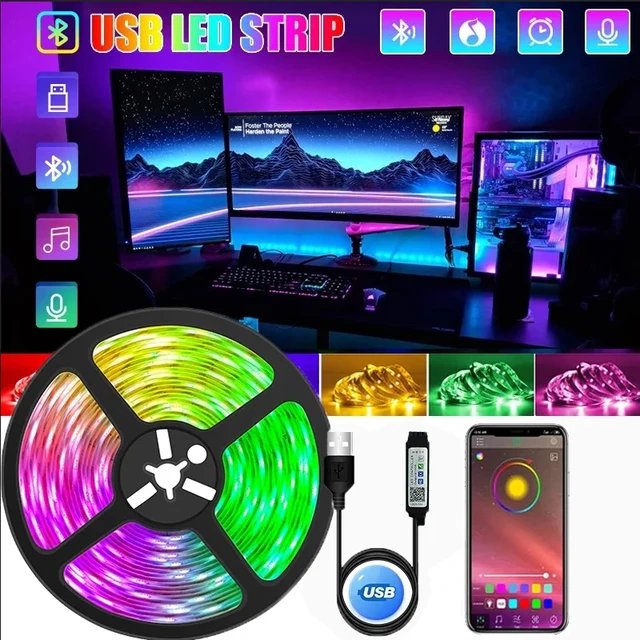
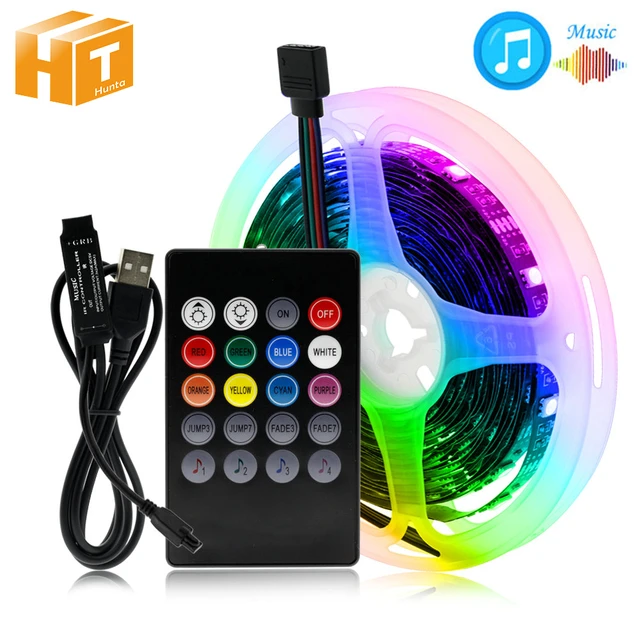
Customization: Many LED strips are available in a wide range of colors and brightness levels. Users can easily change the lighting to match their mood or decor, often through smartphone apps.
Energy Efficiency: LED lights consume significantly less power than traditional lighting options, making them an environmentally friendly choice that can also lower electricity bills.
Easy Installation: Most LED strips come with adhesive backing, making them simple to install without the need for professional help. They can be easily cut to specific lengths for a perfect fit.
Smart Home Integration: Many LED light strips can be integrated with smart home systems, allowing for voice control and automation. This trend aligns with the growing popularity of smart technology in households.
Enhancing Aesthetics: They are popular for creating visually appealing effects, such as backlighting for televisions, highlighting architectural features, or adding color to special occasions.
Popularity in Content Creation: With the rise of streaming and content creation, LED light strips are being used by influencers and gamers to enhance their setups, contributing to their visibility and desirability.
Overall, the increasing trend towards personalization, energy efficiency, and smart technology continues to drive the popularity of LED light strips in modern lighting solutions.
 Conclusion-can you cut led light strips
Cutting LED light strips can be a straightforward process when done correctly. Understanding how to measure, cut, and reconnect is essential. Always take the time to read the manufacturer’s instructions and follow best practices. By being cautious and utilizing the right tools, you can create a beautiful and functional lighting design tailored to your needs.
If you decide to cut LED light strips, remember the potential risks and take the necessary precautions. Light up your spaces creatively while ensuring the longevity of your fixtures!
In summary, cutting LED light strips is an exciting and accessible way to customize your lighting. With careful planning and execution, you’ll be able to achieve your desired effects without damaging your lights. So go ahead—get cutting and illuminating!