Introduction to Ceiling Fan Light Covers
Ceiling fan light covers aren’t just protective. They’re a chance to add style and flair to any room. These covers shield the bulb and soften the light, creating a cozy atmosphere. But there’s more to them than function. The right light cover can complement your room’s theme, color, and texture. Many don’t realize how a simple change like this can transform a space. You can choose from many materials and designs. This includes colorful glass, sleek metal, or even natural fibers. In this guide, we explore how to make your ceiling fan light cover a decor statement. With creative ideas and helpful tips, you’ll find the perfect cover to enhance your home’s design.
The Role of Light Covers in Home Decor
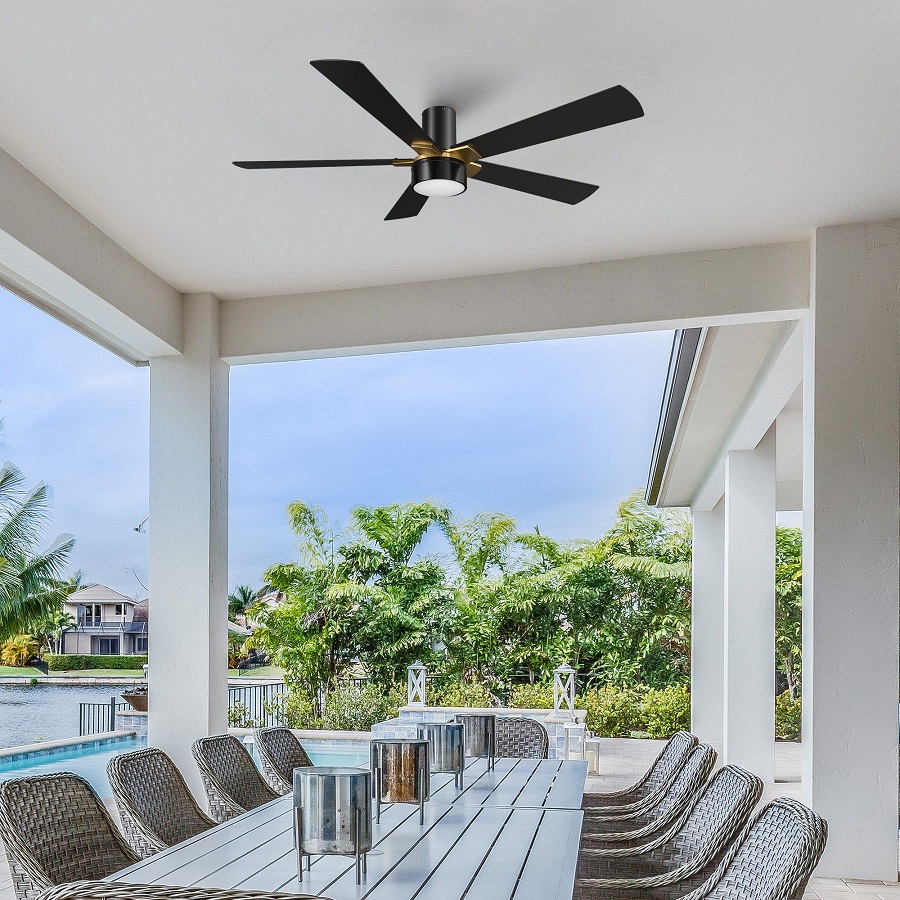
The right ceiling fan light cover can do wonders for room decor. It plays a key role, just like the right piece of art or the perfect throw pillow. Light covers can tie a room’s design elements together. Think of them as the cherry on top of your interior design. They help to balance light distribution, adding warmth or a cool mood. Ceiling fan light covers also hide bulbs from direct view, offering a more polished look. Beyond function, they express your style and aesthetic taste. A well-chosen light cover speaks volumes about your home’s personality. It tells a story, whether you’re going for a vintage vibe or a modern twist.
Remember to select a ceiling fan light cover that fits your home’s theme. Consider the scale, color, and texture when pairing with your existing decor. The right cover can elevate a simple fan to a statement lighting feature. It’s a small change that can have a big impact on the ambiance and feel of a room.
DIY Fabric Light Cover
Creating a DIY fabric ceiling fan light cover serves as a unique way to inject personality into a room. This approach allows for endless customization, due to the vast array of fabric choices available. Here’s how you can do it:
- Choose the right fabric. Go for a pattern or color that enhances your room’s decor. Be mindful of how light passes through different materials.
- Measure the light cover. You want your fabric to fit perfectly, so take precise measurements.
- Cut the fabric. Use your measurements to cut the material accurately, leaving extra inches to secure it in place.
- Attach the fabric. You can use a variety of methods, such as fabric glue, magnets, or even a sewing technique, depending on the fan model and the material of its existing light cover.
- Test the light. Before committing to the change, turn on the fan light to see how your fabric affects the light’s quality and mood.
Not only does a DIY fabric ceiling fan light cover add a custom look, but it can also soften the light for a cozier ambiance. Plus, it’s an easy switch. If you crave change or a seasonal update, just remove the fabric and start fresh with a new design.
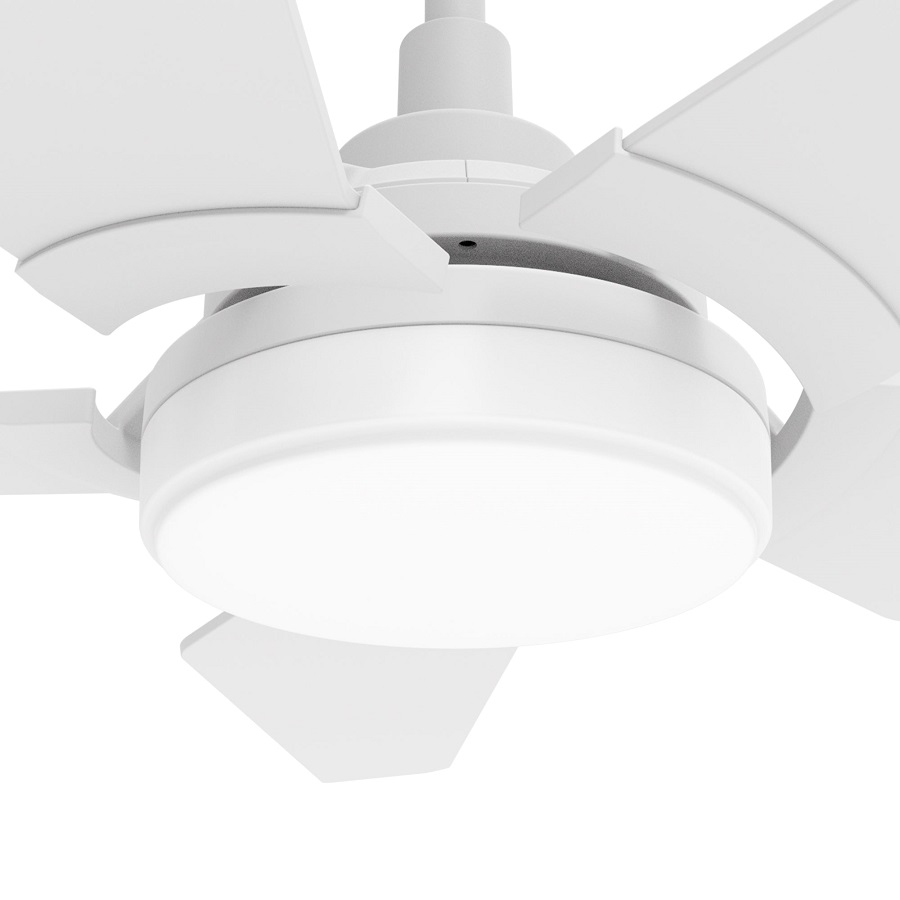 Repurposed Items as Light Covers
Using items you already have can make unique and eco-friendly ceiling fan light covers. Here are some ideas:
- Old Mason Jars: They add a charming, vintage feel. Just attach them where the light covers go.
- Wicker Baskets: These create a rustic or bohemian look. Flip them over and fix them to the fan.
- Colanders: Metal colanders work well as quirky, industrial-style covers. Their holes cast interesting shadows.
- Grater or Cheese Cloche: A cheese grater or cloche gives a farmhouse touch and a patterned light spread.
- Vintage Glassware: Use old glass pieces for a retro vibe. Make sure they are secure and not too heavy.
- Upcycled Metal Bowls: Hammered or patterned metal bowls contribute to a more modern aesthetic.
When repurposing items, always ensure they fit the existing fan fixtures and are not too heavy. These self-made light covers will not only look great but also start conversations about your innovative approach to home decor.
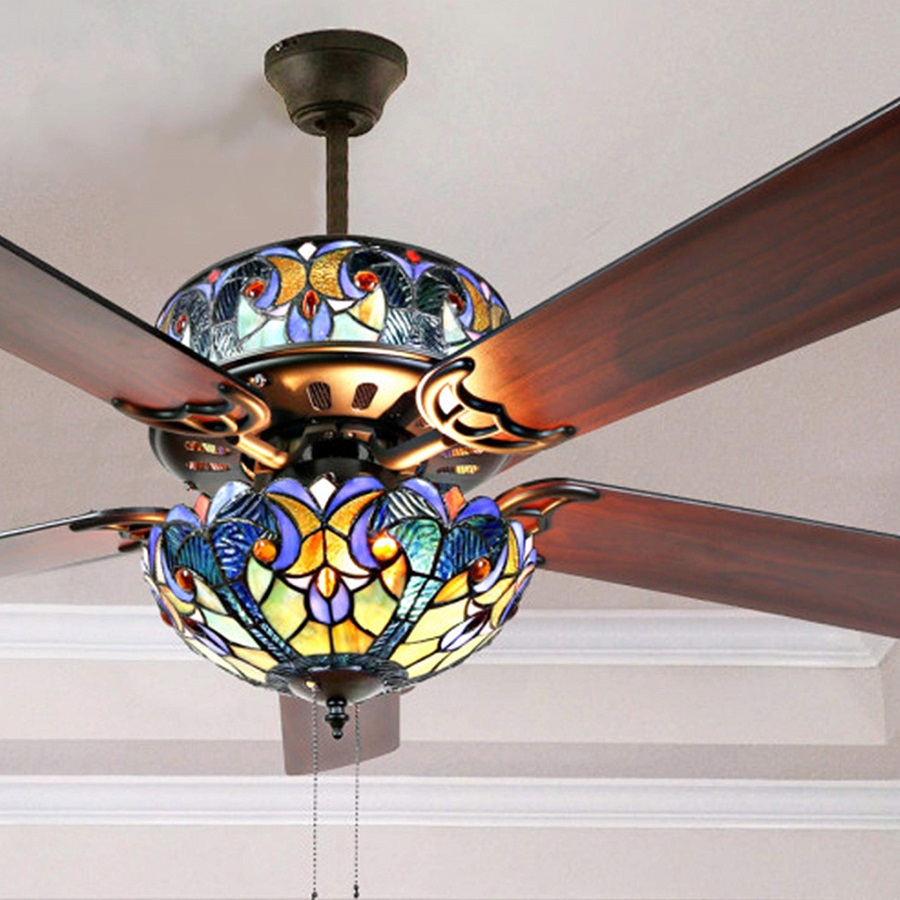
Stained Glass Light Cover Designs
Stained glass is not just for churches or historic buildings. It can add elegance and color to any ceiling fan light cover. Here’s how you can incorporate stained glass designs into your home’s decor:
- Select a Design: Choose a pattern that complements your room. Look for designs that match your style, be it floral, geometric, or abstract.
- Consider the Colors: Stained glass comes in a wide range of colors. Pick shades that go well with your room’s color scheme. This could brighten up a space or create a mood.
- Customize Your Cover: You can have a stained glass cover custom-made. This ensures it fits your fan properly and matches your taste.
When you choose stained glass for your ceiling fan light cover, remember it’s a bold move. It will become a focal point, so balance it with the rest of the room’s decor. Think about how the light passes through and casts colorful patterns. This creates a unique ambiance, especially when the fan is on, as the light moves with the blades. Stained glass is durable and timeless, making it a wise choice for those who enjoy rich decor. Ensure your stained glass cover is secure because they can be heavier than other types.
 Decorative Metal Light Covers
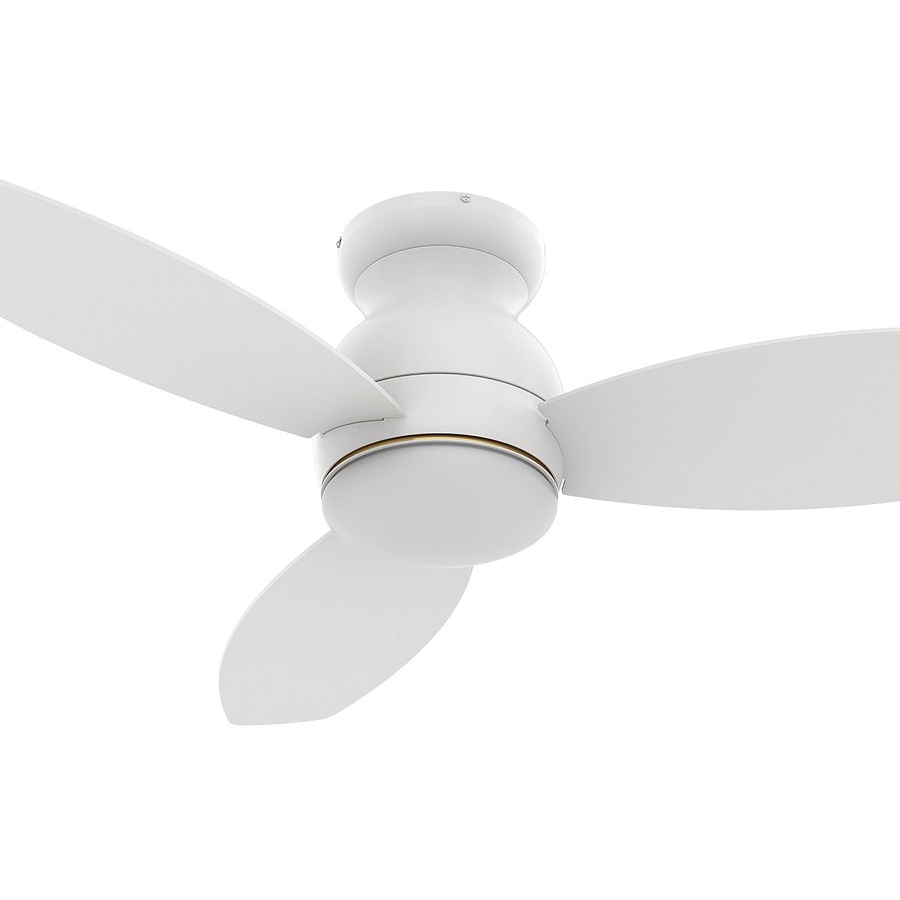
Metal covers can bring an industrial or chic look to your ceiling fan light. Here is how to incorporate metal light covers into your home:
- Pick a Style: Choose a metal finish that fits your decor, like brushed nickel for modern spaces or wrought iron for traditional rooms.
- Consider the Design: Metal light covers come in various patterns and cutouts. Opt for a geometric design for a contemporary room or intricate scrollwork for a classic look.
- Mind the Weight: Make sure the metal cover is not too heavy for your ceiling fan. Check the fan’s specs for maximum weight capacity.
- Think about Light Diffusion: Metal can block light, so select a cover with cutouts or a mesh design to maintain brightness.
- Reflect on Maintenance: Metal covers might collect dust more visibly than glass or fabric. Choose a design that is easy to clean.
Adding a metal ceiling fan light cover is a durable and stylish choice. It can change the mood of a room and add character to your fan. Remember to balance the cover’s style with your room decor and use it to complement the space’s existing theme.
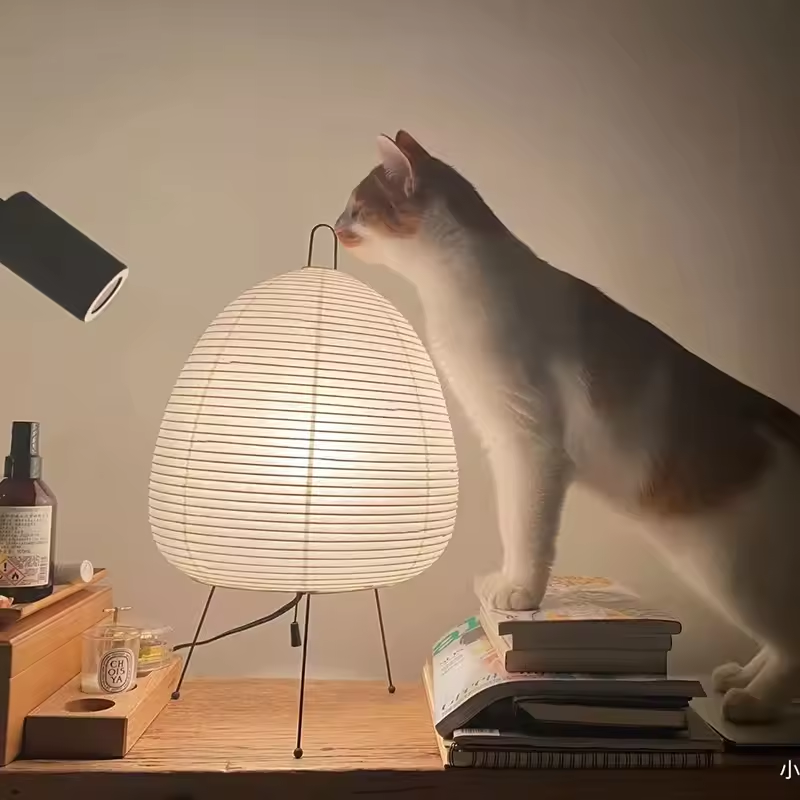
Using Natural Materials for a Rustic Look
Creating a rustic aesthetic in your home can be as simple as integrating natural materials into your ceiling fan light covers. Using organic materials such as wood, bamboo, or jute can add a warm and earthy feel to any space. Here are some ideas to inspire a natural and rustic look for your ceiling fan light cover:
- Wooden Bead Covers: Wooden beads can be strung together to fashion a boho-chic light cover. Choose beads in natural tones for an understated look or painted ones for a pop of color.
- Bamboo Slats: Bamboo is lightweight and versatile. You can use bamboo slats to create a cover that filters light beautifully and brings an organic touch to your ceiling fan.
- Jute or Sisal Twine: Wrap jute or sisal twine around your existing light cover for a textured look that adds interest and a natural feel.
- Driftwood: For a truly unique cover, collect pieces of driftwood and assemble them into a one-of-a-kind light cover that evokes coastal charm.
- Rattan or Wicker Weave: Rattan or wicker can be fashioned into a cover that complements a rustic or tropical decor scheme while maintaining a breezy aesthetic.
When choosing natural materials for your ceiling fan light cover, ensure they are lightweight enough for your fan and consider the maintenance they might need. Additionally, think about the quality of light and how these materials will diffuse it through your space. A natural, rustic look not only provides a relaxed vibe but also showcases your commitment to using sustainable materials and adds a personalized touch to your home decor.
 Tips for Choosing and Installing Ceiling Fan Light Covers
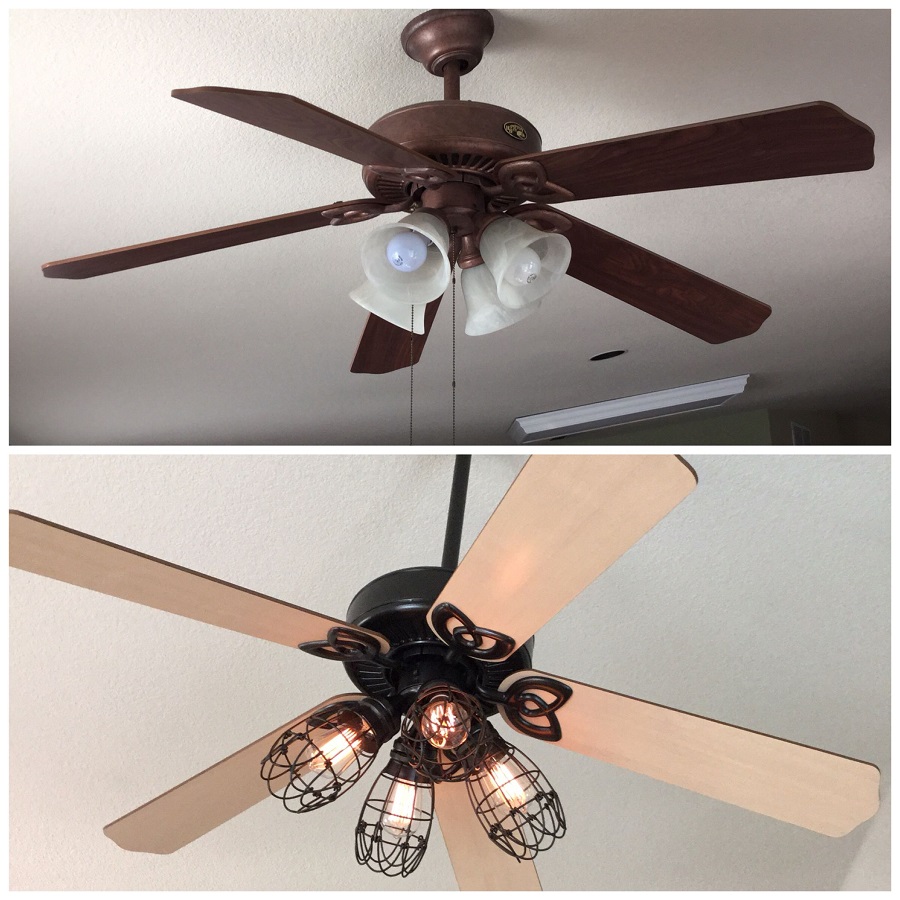
When you’re ready to select and install a new ceiling fan light cover, here’s what to keep in mind:
- Consider Compatibility: Make sure the cover fits your fan’s model and design. Check the mount type and size.
- Assess the Light Quality: Different materials diffuse light in various ways. Think about the light ambiance you want in your room.
- Keep it Lightweight: Choose covers that won’t stress the fan’s motor. Avoid heavy materials.
- Stay within Style: The cover should match your room’s decor and theme. Keep consistency in your design choices.
- Focus on Functionality: Installation should be simple. Opt for covers that are easy to secure and remove for cleaning.
- Safety First: Ensure that the cover is securely attached and does not interfere with the fan’s operation.
- Maintain Balance: An uneven light cover can cause wobble. Check the balance before and after installation.
- Tools and Accessories: Gather the necessary tools beforehand. You might need screws, clips, or adapters.
- Follow Instructions: Read the installation guide. This prevents mistakes and ensures correct setup.
- Trial and Error: Test the light cover for a few days. See how it works with daily use and make adjustments if needed.
Choosing the right ceiling fan light cover adds to your home’s aesthetics and functionality. With care and consideration, you can ensure a successful update to your room’s lighting.