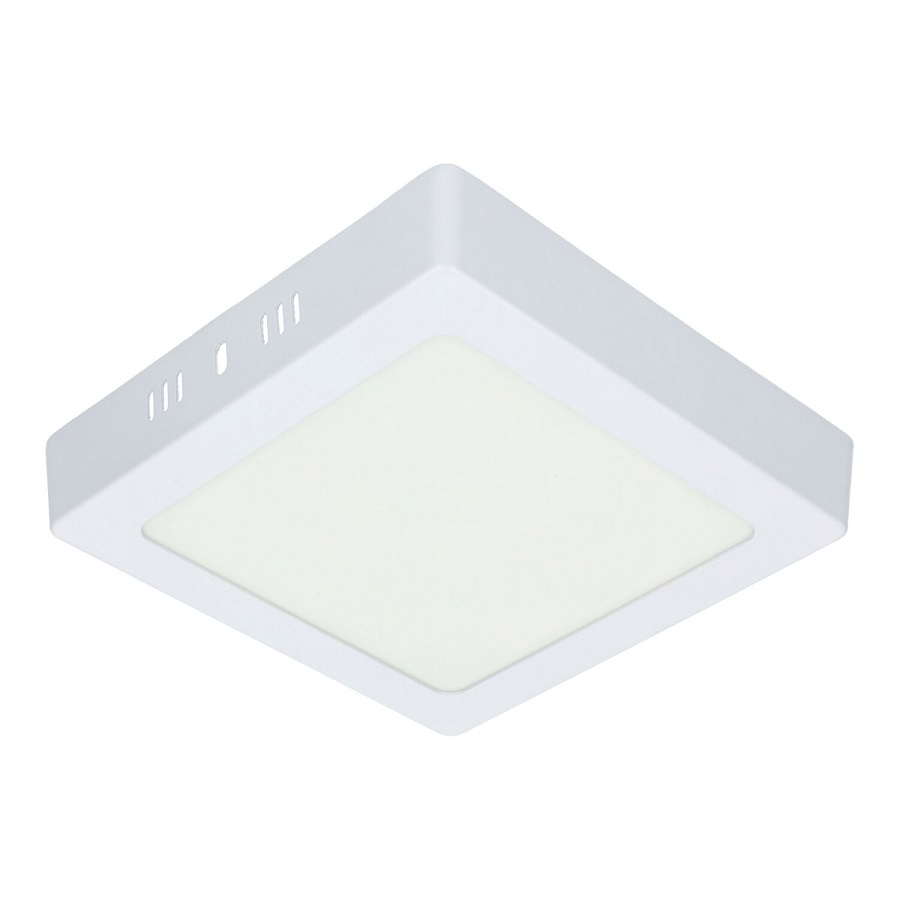
Introduction to DIY Ceiling Light Installation
How to install a ceiling light – Installing a ceiling light by yourself can be straightforward and rewarding. It’s an excellent way to personalize your space and save money on professional services. With a range of stylish and eco-friendly LED ceiling lights on the market, you have numerous design options to choose from.
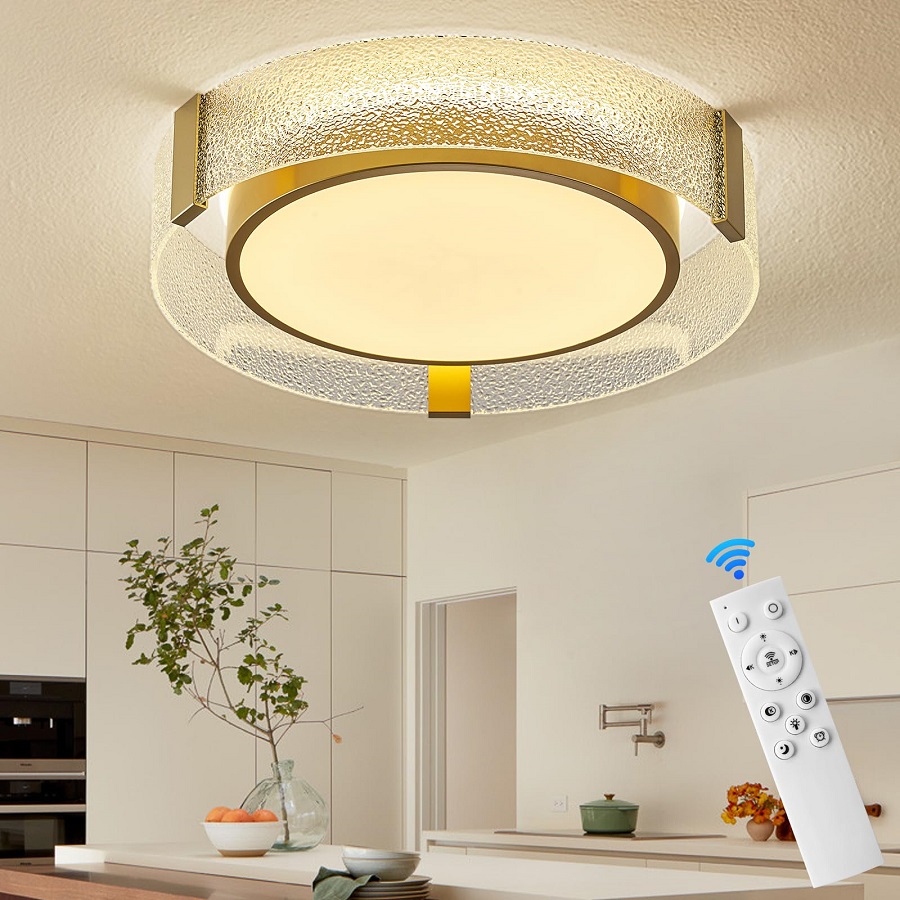
Before you start, know that safety is key. Be sure to take careful safety precautions, such as turning off the power and testing for electrical currents, to prevent accidents. You’ll need some basic tools, and while you don’t need specialized knowledge, it’s important to follow instructions carefully.
In this guide, we’ll walk you through the steps to remove your old light fixture, choose a new one that’s just right for your space, and install it properly. We’ll also provide tips to help you select a ceiling light that offers the right brightness, design, and functionality for your needs.
By the end, you’ll see that with a bit of patience and this step-by-step guide, learning how to install a ceiling light can be a simple DIY project. Let’s illuminate the process and get started!
Pre-Installation Safety Measures
Before diving into the installation process, ensuring your safety is crucial. Effective pre-installation safety measures are a must to avoid accidents while installing your ceiling light. This section highlights the key safety steps you should take.
Turning Off the Power
The first step in any electrical DIY project is to turn off the power. Locate your home’s breaker box, and switch off the circuit breaker for the area where you’re working. This step will cut off the electrical supply to the ceiling light, making it safe for you to proceed.
Testing for Electrical Currents
Even after turning off the power, it’s important to double-check. Use a non-contact voltage tester to confirm there’s no current flowing to the wires. Simply hold the device near the wires. If it beeps or lights up, the current is still present, and you need to check the right circuit breaker again.
Step-by-Step Removal of the Old Fixture
Tools Needed for Removal
Before you can install your new ceiling light, the old one must come down. Here’s what you’ll need:
- A sturdy ladder to reach the fixture.
- A screwdriver to remove the light cover and unscrew the fixture.
- Wire cutters or strippers if you need to trim wires.
- A voltage tester to ensure safety.
- Protective gloves to prevent cuts from sharp edges.
Keep these tools handy. We’ll use them to safely remove the old fixture.
Handling and Disconnecting the Old Light
Now, let’s carefully take down the old light:
- Set the ladder under the fixture and climb safely.
- Unscrew and remove the light cover first.
- Unscrew the base from the ceiling junction box.
- Carefully lower the fixture without pulling the wires too much.
- Use the wire stripper to disconnect the wires from the fixture.
Remember to handle every part gently to avoid damage to your ceiling or harm.
Each step is vital for smooth removal. After this, we are ready to prepare for the new ceiling light installation.
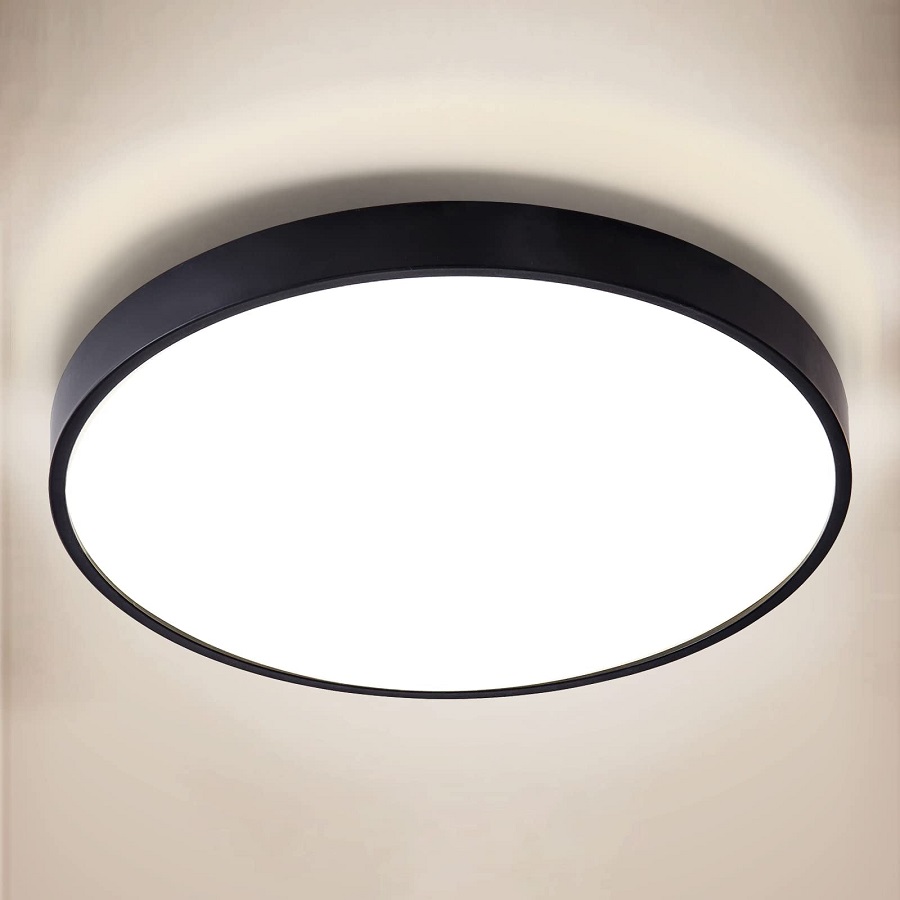 Choosing the Right Ceiling Light for Your Space
Selecting the ideal ceiling light involves several factors. You need a light that complements your decor and meets your functional needs.
Considerations for Brightness and Color
Brightness shapes the feel of a room. For work areas, choose brighter lights. For cozy spaces, softer lighting works best. Color also influences mood. Cool white is energizing, warm white is relaxing. Match light brightness and color to your room’s purpose.
Design and Functionality Selection
The design of the light should blend with your room’s style. Whether modern or traditional, find a design that fits. Also, consider features like dimmable functions or remote control for added convenience.
Understanding Room Size and Light Scale
Room size dictates light scale. Smaller rooms need less brightness; larger areas require more. Ensure the light’s dimensions fit well within your space. A balance between room size and light scale is key for visual harmony.
Installing the New Ceiling Light
Once your old ceiling light is down, it’s time to install the new one. Follow these steps to ensure your ceiling light is installed safely and correctly.
Attaching the Mounting Bracket
First, attach the mounting bracket that came with your new light:
- Hold the bracket up to the ceiling’s electrical box.
- Use the screws provided to secure the bracket.
- Make sure the bracket is firm and level.
By attaching the bracket right, you set a strong foundation.
Wiring and Connecting Techniques
Careful wiring is key to a safe installation:
- Match wire colors from the ceiling to the new fixture.
- Twist the bare ends of matching wires together.
- Cap them with wire nuts, twisting clockwise.
- Tug each connection gently to check it’s secure.
Proper connections mean no flickering lights later on.
Securing the New Fixture
Now, secure your new ceiling light to the bracket:
- Lift the fixture to align with the bracket holes.
- Insert and tighten the mounting screws.
- Have someone help hold the fixture as you work.
Screws must be tight to keep the fixture safe and sound.
These steps make installing your new light simple and rewarding. Remember to turn off the power and test for currents before starting. Use the right tools, follow the steps, and soon, you’ll have a new light brightening up your space.
Finishing Touches
After installing your ceiling light, it’s time for the finishing touches to achieve the perfect look and functionality.
Adding Bulbs and Covers
Choose the right bulbs for your new ceiling light. Pick ones that meet the recommended wattage and provide the desired brightness and color temperature. Make sure to turn the power off before inserting the bulbs. Carefully place them into the fixture. Next, attach any light covers or shades that come with your light. Line up any clips or screws and secure them firmly to prevent wobbling or unevenness.
Adjusting for Proper Alignment
Inspect your light to ensure it hangs straight. Adjust the length of any chains or cords for pendant lights. Make sure flush mounts are even against the ceiling. If your light has multiple bulbs, arrange them so they’re spaced evenly and pointing in the right directions. Small adjustments can have a big impact on how well your light illuminates your space.
When adding bulbs and covers or making adjustments for alignment, double-check that everything is secure. This step ensures your safety and the quality of your installation. You’re now set to enjoy your home’s new lighting!
 Final Safety Checks and Testing
Once your new ceiling light is in place, it’s time for the safety checks.
Power Restoration and Light Testing
To finish up, you need to restore power and test the light. Head to the breaker box and turn on the circuit. Flip the light switch to see if your ceiling light works.
Troubleshooting Common Issues
If the light doesn’t work, don’t worry. Check all wire connections are secure first. No luck? The bulb might be the issue, so try replacing it. Still no light? It might be time to consult a professional electrician.
By following this guide, you can safely install a ceiling light. Always prioritize safety, check your work, and don’t hesitate to ask for help when needed.
Additional Tips and Reminders
As you embark on your DIY ceiling light installation journey, keep these final nuggets of wisdom in mind.
When to Consult a Professional Electrician
Even if you feel confident, there are times to seek a pro. If wires look damaged or if the electrical box is old and suspect, call an electrician. Also, complex setups, like adding a new line or dealing with high ceilings, may require pro skills. Safety first, always.
Essential Tools for DIY Electrical Work
Having the right tools makes the job easier and safer:
- A screwdriver is a must to secure parts.
- Wire strippers manage wire ends neatly.
- Wire nuts ensure secure connections.
- A voltage tester guards against shock.
- Keep a ladder handy for high spots.
- Don’t forget safety gloves for hand protection.
These tools are basic but crucial for your installation. Before you start, make sure everything you need is within reach. This ensures a smooth and interruption-free project, letting you focus on the task at hand.
