Introduction to LED Ceiling Light Replacement
Replacing an LED ceiling light may seem daunting. Yet, with the right guidance, it’s a task most homeowners can tackle. Before we dive into the process, let’s understand why you might need a replacement. LED lights are long-lasting but can fail due to wiring issues, persistent usage, or when the fixture itself becomes outdated. A new LED ceiling light can revamp a room’s look and improve energy efficiency. In this blog, we’ll walk you through each step required for an LED ceiling light replacement. From the tools required to the finishing touches, you’re covered. Remember, safety first; never start work without proper precautions. Now, let’s get started with the tools and materials you will need.
 Tools and Materials Needed for Replacement
To replace your LED ceiling light, gather these tools and materials first. You need a ladder to reach the ceiling. Make sure it’s stable and the right height. A screwdriver, usually a Philips or flat-head, is vital for removing the light fixture. Have wire cutters and wire strippers ready for handling wiring. A voltage tester will ensure the power is off, for safety. For the new installation, get wire connectors and electrical tape. Ensure you have the new LED ceiling light, compatible with your socket. Some fixtures come with their own mounting hardware. If not, you’ll need screws and wall plugs suitable for your ceiling type. Lastly, keep safety gear, like gloves and eye protection, on hand. Each item is crucial for a safe and effective led ceiling light replacement.
Safety Precautions Before Starting the Replacement Process
Before replacing your ceiling light, safety is paramount. Turn off the power to the circuit where the LED light is connected. Use a voltage tester to confirm that the power is off; this prevents any electrical hazards. Always wear protective gear, such as rubber gloves and safety glasses, to protect against potential shocks and debris. Keep a stable ladder of appropriate height for reaching the ceiling without over-stretching. Clear the area below the working space of any furniture or other objects to prevent accidents or damage during the LED ceiling light replacement process. Lastly, always have another person nearby in case an emergency arises or assistance is needed.
Step-by-Step Guide to Removing the Old LED Ceiling Light
Removing an old ceiling light involves a clear, careful process. Here’s a step-by-step guide to help you effectively remove your outdated or non-functioning LED ceiling light.
- Ensure Safety: Before anything, verify that the power is completely off. Use the voltage tester you prepared earlier to double-check. Safety cannot be compromised.
- Prepare the Area: Move any furniture away from the work area to prevent damage. Place your ladder securely under the light fixture.
- Remove the Light Cover: Start by taking off the light cover. Most covers clip off or unscrew easily.
- Unscrew the Light Fixture: Use the screwdriver to carefully remove the screws or bolts holding the fixture to the ceiling.
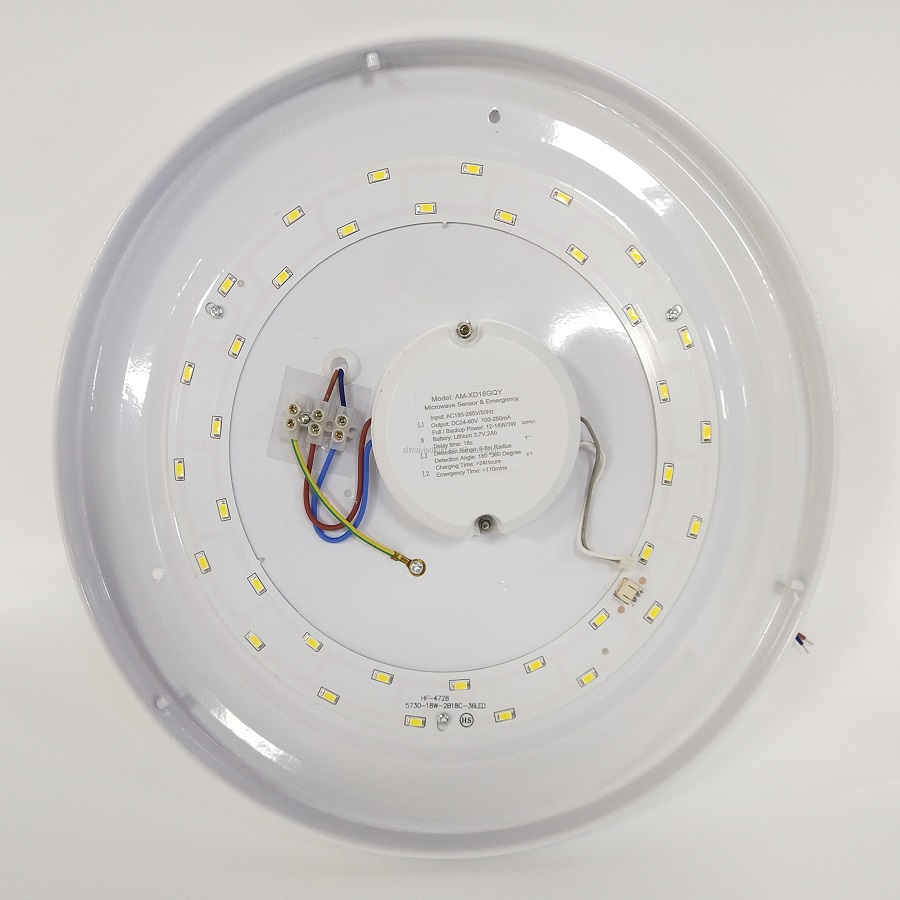
- Disconnect Wiring: Once the fixture is loose, disconnect the wire connectors. Handle the wires with care, especially if they are old or rigid.
- Remove the Fixture from Ceiling: After disconnecting the wires, you can take down the fixture. Be gentle to avoid damaging the ceiling.
Each of these steps is crucial for a successful LED ceiling light replacement. Take your time and follow this guide closely to ensure a smooth and safe removal process.
Installing the New LED Ceiling Light
Installing a new LED ceiling light can refresh your room’s ambiance and enhance energy savings. Follow these steps to ensure a smooth and secure installation.
- Prep the Ceiling Area: Clean the ceiling surface where you’ll mount the new light. Make sure it’s free of dust and debris.
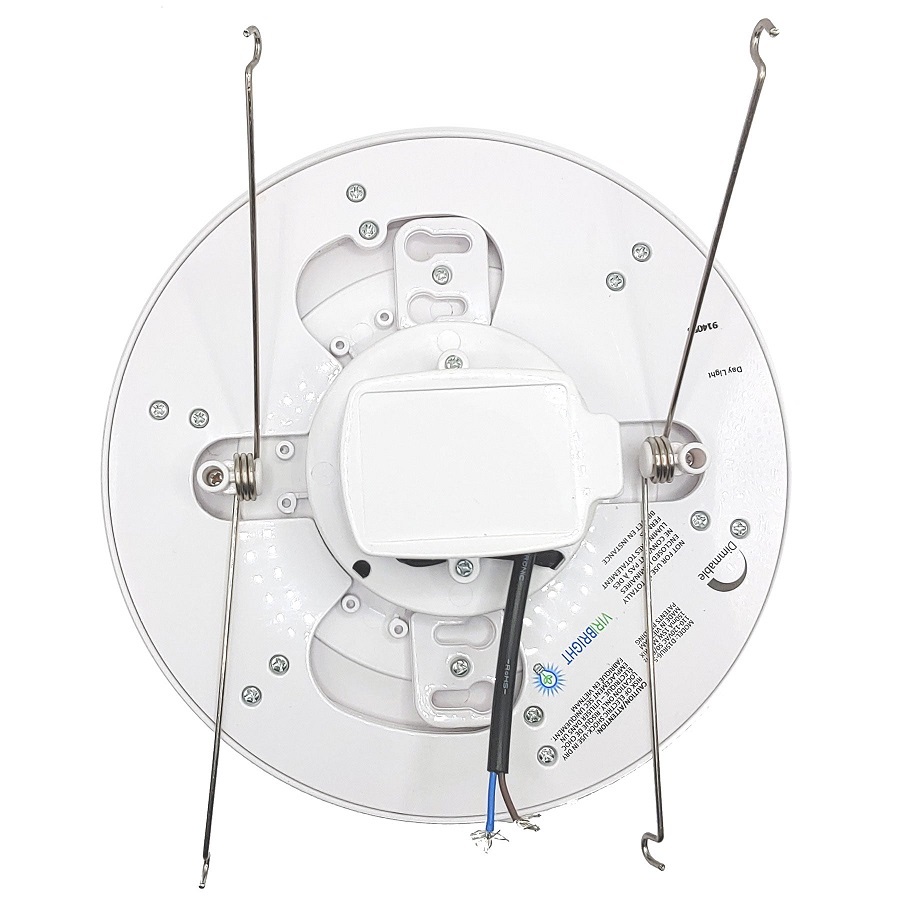
- Mount the Base Plate: If your new light fixture has a separate base plate, attach it to the ceiling first. Use the screws and wall plugs suitable for your ceiling type.
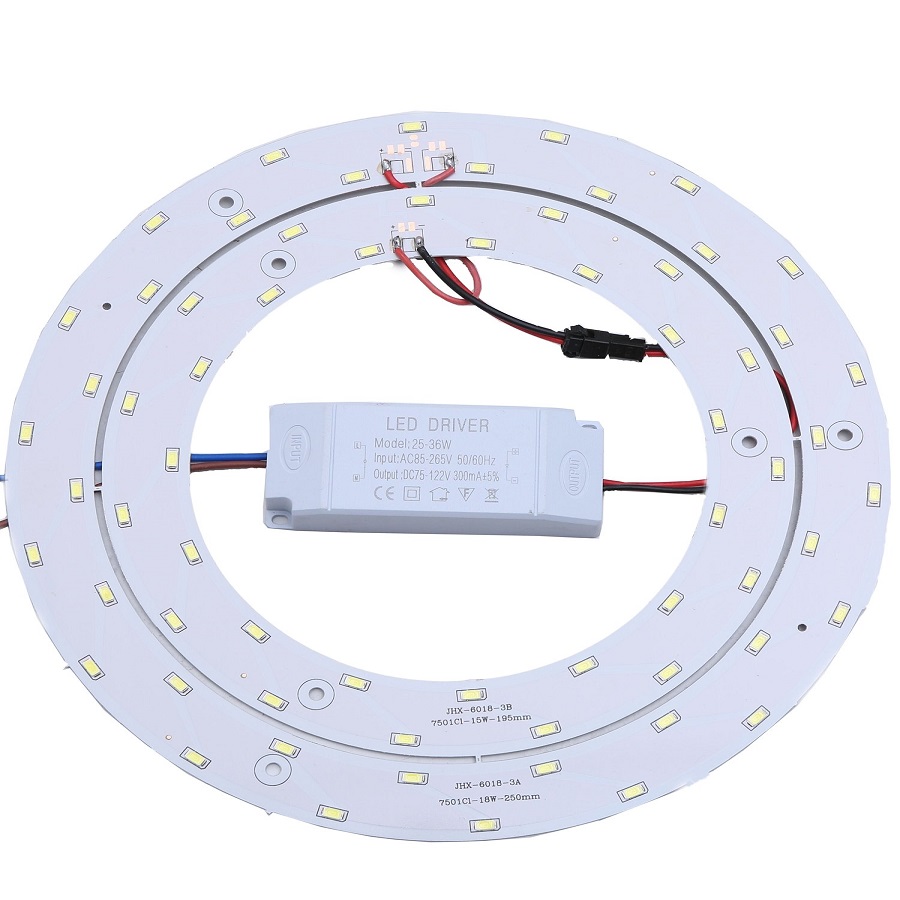
- Connect the Wires: Use the wire strippers to prepare the ends of the wires. Match and connect the fixture’s wires with your home’s wiring — usually, black to black (hot), white to white (neutral), and green to copper (ground). Twisting them firmly together and securing them with wire connectors is crucial.
- Secure the Fixture: Align the light fixture with the base plate and screw it in place. Ensure that it is firmly attached and that there is no wobble.
- Attach the Light Cover: If your fixture has a cover, fit it on now. It should easily click into place or screw on, depending on the design.
- Test the Light: Turn the power back on and switch the light on to test. Check if the LED ceiling light lights up and that it’s functioning properly.
- Make Adjustments if Necessary: If the light doesn’t work, recheck your wire connections and make sure all fittings are secure.
Remember, LED ceiling light replacement can not only improve your home’s lighting quality but also its overall energy efficiency. Once your new light is installed, you can enjoy the benefits right away.
 Troubleshooting Common Installation Issues
Even with careful installation, you might encounter issues with your new LED ceiling light. Here’s how to troubleshoot common problems:
- Light Doesn’t Turn On: First, check your circuit breaker or fuse box. If that’s not the issue, re-examine the wire connections. Make sure they are tight and correctly paired.
- Flickering Light: This can be due to loose wire connections. Secure all connections and ensure the voltage matches the LED specification.
- Dim Light: Ensure the new LED ceiling light matches the power output your room needs. A bulb with too low wattage will appear dim.
- Buzzing Sound: This can happen with incorrect dimmer switches. Make sure your dimmer is LED-compatible.
- Light Turns Off Unexpectedly: It might be overheating. Check if the LED bulb is suitable for the enclosed fixture, or if there’s enough free space around it.
By addressing these issues, you’ll enhance the performance and longevity of your LED lighting.
Maintenance Tips for Your New LED Ceiling Light
Maintaining your new LED ceiling light ensures it lasts longer and remains efficient. Here are simple yet effective tips to keep your light in top condition.
- Regular Cleaning: Dust the light fixture gently with a soft cloth. Avoid harsh chemicals that can damage the LED light’s surface.
- Check Connections: Occasionally, check the wire connectors to ensure they’re secure and not loose. Loose connections can cause issues like flickering.
- Inspect for Damage: Look for any signs of wear or damage, such as cracks in the cover. Address them promptly to prevent safety hazards.
- Replace LEDs Promptly: When an LED does burn out, replace it quickly to maintain light quality and efficiency.
- Avoid Overheating: LED lights can overheat in enclosed fixtures. Ensure your light has proper ventilation to avoid this problem.
- Dimmer Compatibility: If you’re using a dimmer, confirm it’s suitable for LEDs. Incompatible dimmers can reduce the lifespan of your lights.
- Follow Manufacturer’s Guidelines: Stick to the manufacturer’s instructions for the best care practices. They’re tailored to your specific LED ceiling light model.
By following these tips, your led ceiling light replacement will continue to brighten your space while conserving energy for years to come.
Conclusion: Enjoying Your New Efficient Lighting
You’ve replaced your LED ceiling light! Now, it’s time to enjoy the enhanced beauty and improved efficiency. First, admire how the new lighting transforms your room. It not only looks better but uses less energy too. Regularly maintain your light to keep it at peak performance. This ensures a lasting brightness and more energy savings. With your new LED ceiling light, you can now enjoy a brighter, more economical home for years to come.