Introduction to DIY Table Lamps
Creating a DIY table lamp is a fun and fulfilling project. This hands-on activity lets you design a unique lighting piece tailored to your home’s decor. You can personalize the lamp with colors, materials, and shapes that reflect your style. DIY table lamps can accommodate various styles, budgets, and skill levels, making them accessible to everyone.
Why Choose DIY Table Lamps?
DIY table lamps are perfect for expressing creativity. These projects offer limitless design possibilities, from modern to vintage. You can also upcycle materials, reducing waste and saving money. Plus, making your own lamp ensures you get a one-of-a-kind piece.
Another reason to choose DIY table lamps is customization. You can select the exact size, color, and features to match your room. This level of control ensures the lamp complements your décor perfectly.
Finally, crafting a table lamp is a rewarding learning experience. It teaches you basic electrical work and inspires future DIY projects.
Benefits of Crafting Your Own Table Lamp
There are many benefits to designing a DIY table lamp. First, you save money by creating instead of buying a pre-made lamp. Crafting also allows you to use materials you already have.
Second, homemade table lamps add a personal touch to your living space. They reflect your taste and creativity. Guests will admire and appreciate your effort and craftsmanship.
Lastly, crafting a lamp gives you a sense of accomplishment. It can be a relaxing hobby and a chance to improve skills. Whether for practical use or as décor, your DIY table lamp will be a proud addition to your home.
Materials Needed for a DIY Table Lamp
Creating a DIY table lamp begins with gathering the right materials. Proper preparation ensures a smooth crafting process. Here’s a guide to essential items you’ll need.
Essential Tools and Supplies
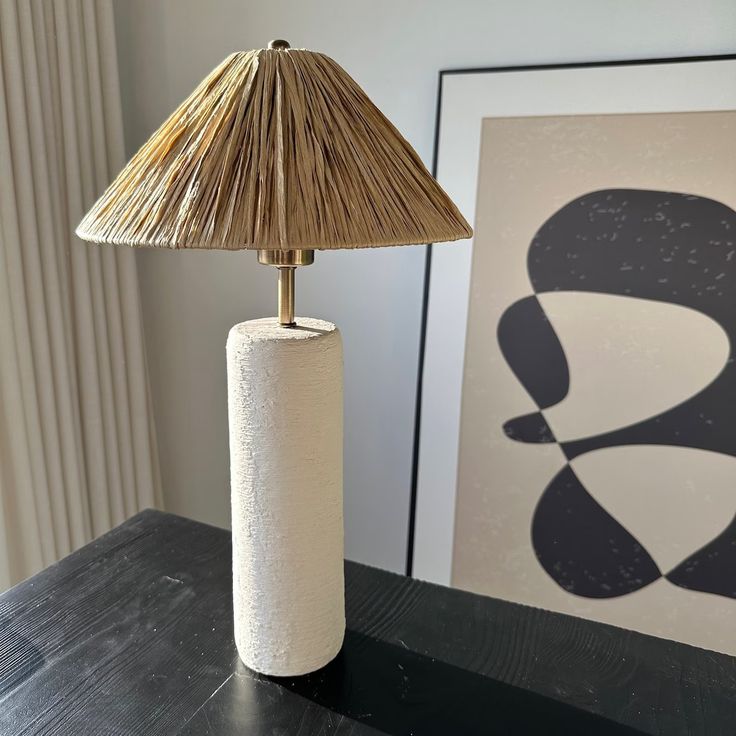
- Lamp Base Material: Start by choosing a suitable material for your lamp base. Options include wood, metal, or glass, allowing you to match your lamp to your decor style.
- Lamp Kit: A quality lamp kit is essential. This kit typically includes a socket, cord, plug, and switch for easy wiring and assembly. Make sure to select a kit that fits your design.
- Drill and Bits: You will need a drill and various bits to create holes for the wiring to pass through. A clean and precise hole ensures a neat appearance.
- Screwdriver: Keep a screwdriver handy for securing various components in place. This tool is crucial for tightening connections and ensuring solid assembly.
- Glue or Adhesive: Depending on your design, you might need glue or adhesive to attach specific elements to the lamp base. Choose a strong adhesive that suits your materials.
- Measuring Tape: A measuring tape helps you accurately measure and align components before assembly. Proper measurements prevent mistakes and ensure a balanced design.
- Paints or Finishes: Lastly, consider using paints or finishes to decorate or enhance the lamp base. Choose colors or finishes that match your personal style and existing decor. This step adds a unique touch to your DIY lamp.
Choosing the Right Bulb and Lampshade
- Voltage Compatible Bulb: Ensure the bulb matches the socket’s wattage capacity.
- Eco-Friendly Bulbs: Choose LED or energy-saving bulbs for an efficient and safe lamp.
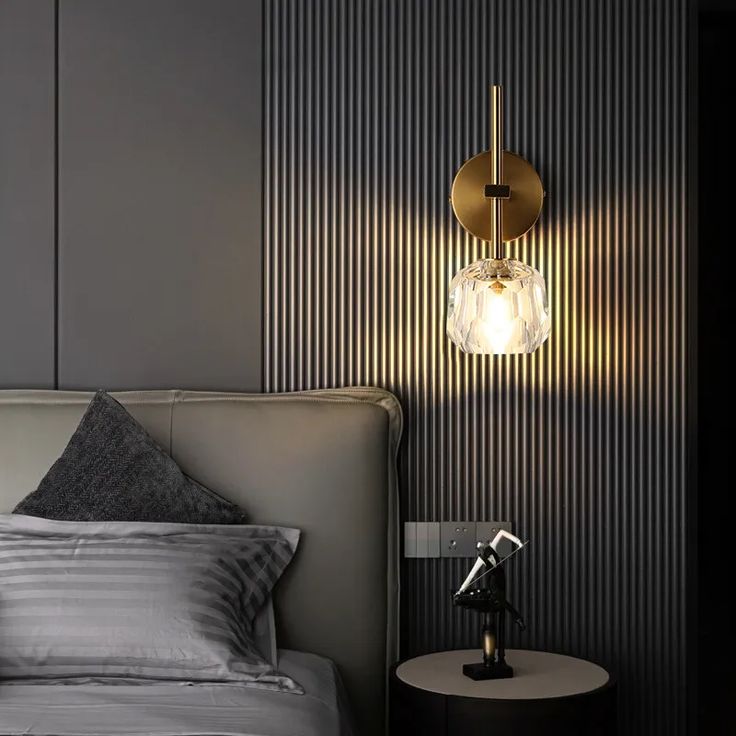
- Lampshade: Select a shade that complements the base design and size of your lamp.
- Fabric shades offer a soft, classic look.
- Metal or glass shades suit modern or industrial styles.
- Heat-Resistant Materials: Ensure all lampshade components can handle the bulb’s heat.
Having these materials will set you up for a successful DIY table lamp project. With the right tools and creativity, you can craft a lamp that’s both functional and stylish.
Step-by-Step Guide to Crafting a DIY Desk Lamp
Creating a DIY table lamp requires a systematic approach. Follow these steps to design and assemble a beautiful, functional lamp.
Designing the Lamp Base
- Choose a Material: Pick wood, glass, metal, or ceramic for the lamp base.
- Plan the Shape: Decide on a shape that fits your room’s style. Experiment with geometric or organic forms.
- Customize the Finish: Sand and paint the base to complement your décor.
- Drill a Hole: Create a hole in the base for the electrical cord. Use the appropriate drill bit size.
- Secure the Base: Ensure the base is stable and balanced to prevent tipping.
Designing sets the foundation for your lamp’s aesthetic and functionality.
Wiring and Assembly Techniques
- Prepare the Lamp Kit: Start by unpacking your lamp kit. Verify that you have all necessary components, including the socket, cord, plug, and switch. Organizing these parts will make the assembly process smoother.
- Thread the Cord: Locate the hole drilled into the lamp base. Carefully insert the cord through this hole, ensuring it feeds smoothly without twisting or kinking. Proper threading allows for a clean look.
- Connect the Wires: Next, attach the wires to the lamp socket. Match the correct terminals; usually, this involves connecting the hot (black) wire to the brass terminal and the neutral (white) wire to the silver terminal. Be sure to secure the connections tightly.
- Secure the Socket: Once the wires are connected, fix the lamp socket tightly onto the base. This ensures stability and helps prevent any movement that could affect the wiring.
- Attach the Plug: Take the other end of the cord and securely connect it to the plug. Ensure that all connections are tight to guarantee safe operation.
- Test the Connection: Finally, plug in your lamp to test the connection. Make sure the lamp lights up properly, confirming that the wiring has been done correctly.
Proper assembly ensures both safe and efficient operation of your lamp, allowing you to enjoy your creation.
Decorating and Personalizing Your Lamp
- Choose a Lampshade: Opt for fabric, metal, or glass shades that match your base.
- Add Custom Elements: Use decoupage, stencils, or decals to make your lamp unique.
- Experiment with Colors: Paint or use colorful finishes to match your room’s theme.
- Incorporate Art: Add decorative pieces like beads, ribbons, or carvings for a personalized touch.
- Test the Look: Place the lamp in its intended position to check how it fits the space.
These steps let you combine functionality with style, resulting in a lamp that’s truly yours.
Creative Ideas for DIY Desk Lamps
Creating unique and innovative DIY table lamps is an excellent way to showcase your creativity. By thinking outside the box, you can give your lamp a distinctive charm. Below are some creative ideas to inspire your next project.
Upcycling Everyday Items as Lamp Bases
Transform ordinary objects into extraordinary lamp bases to achieve a one-of-a-kind look. Here are some ideas:
- Books: Stack old books to form a sturdy and interesting lamp base.
- Mason Jars: Fill jars with decorative items for a rustic or vintage vibe.
- Wine Bottles: Use empty glass bottles for a sleek and modern lamp base design.
- Driftwood: Add a natural and rustic touch by shaping driftwood into a base.
- Toys: Repurpose old toys into whimsical bases, perfect for children’s rooms.
Upcycling is not only creative but also environmentally friendly. It uses discarded items, reducing waste while adding personality to your lamp.
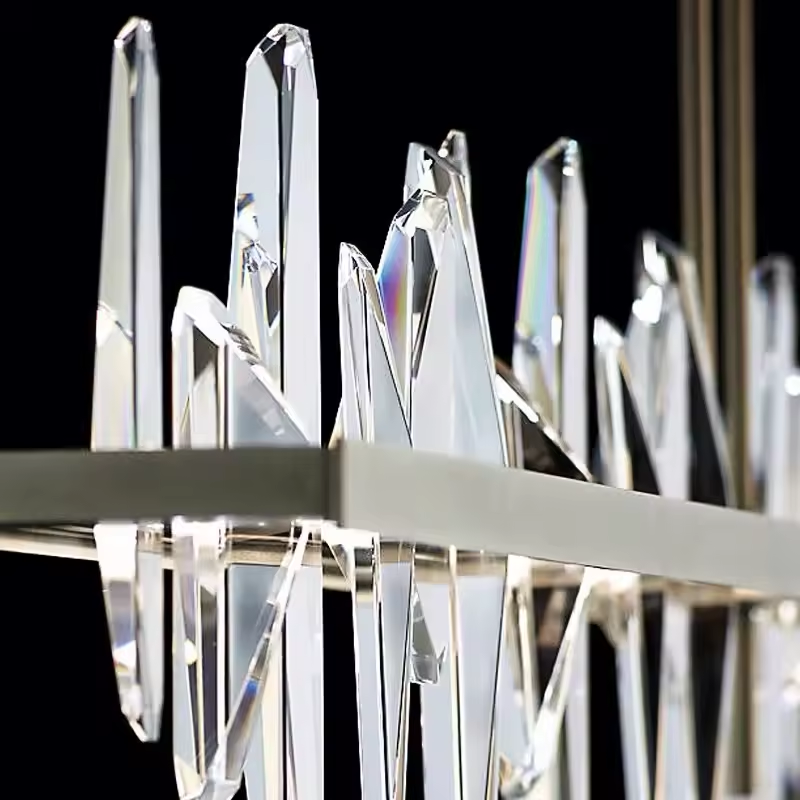
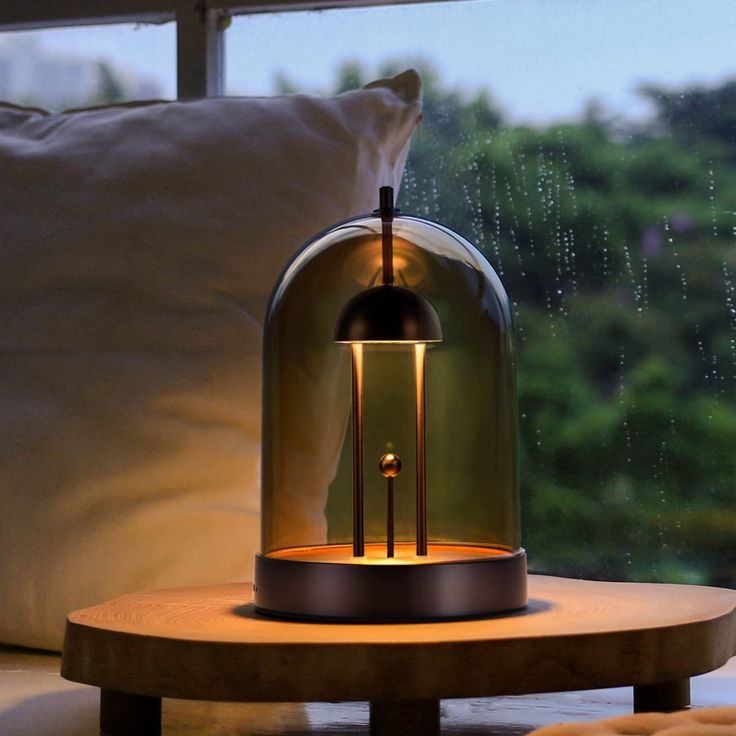
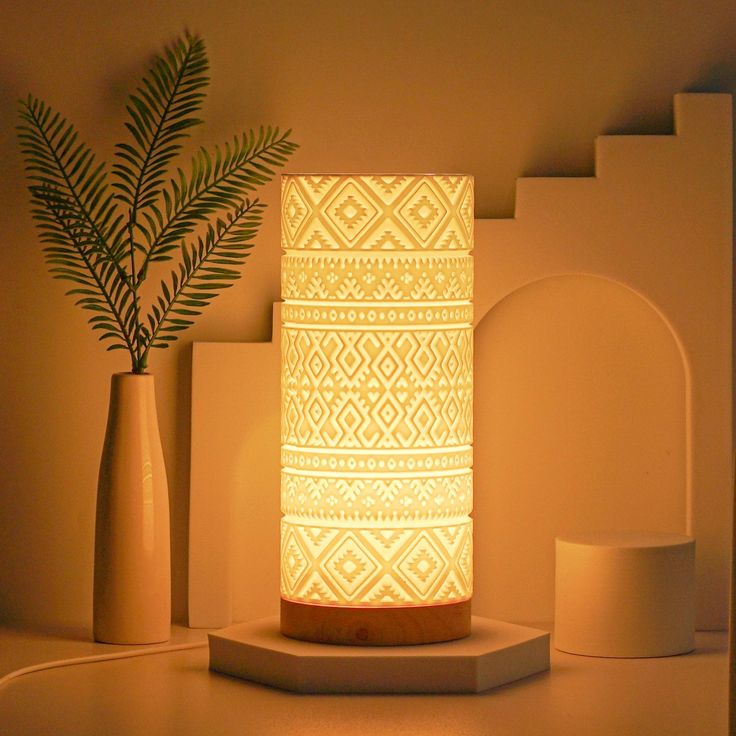
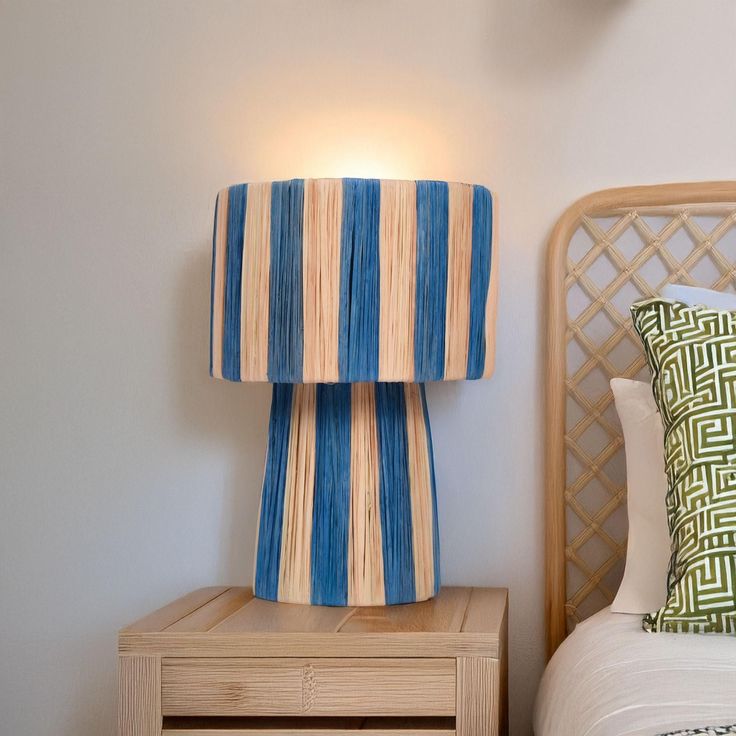
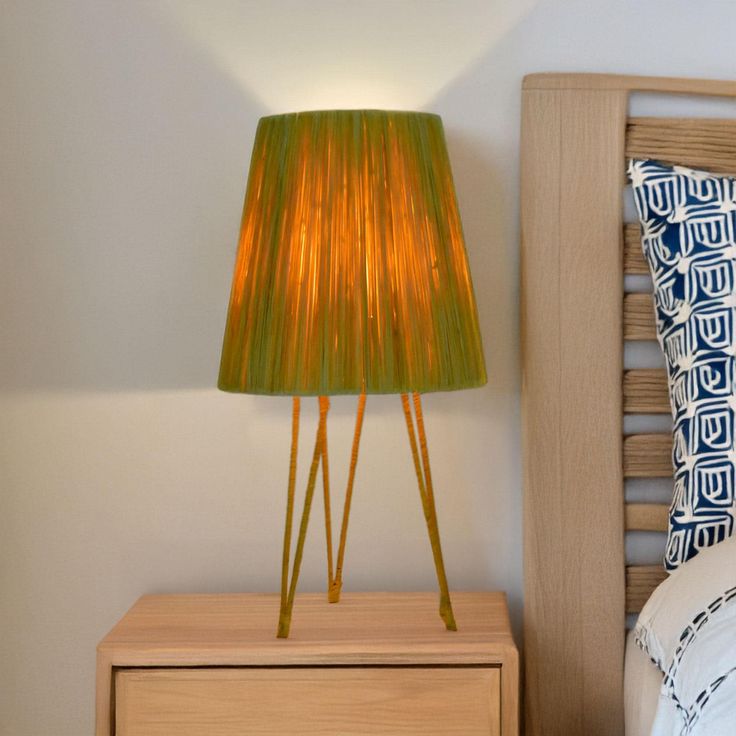
Unique Lampshade Designs and Materials
A lampshade offers another way to highlight your creative flair. Consider these unique concepts:
- Fabric Collage: Combine assorted fabrics for a playful and colorful shade.
- Paper Cutouts: Design intricate paper patterns for soft lighting effects.
- Metal Mesh: Use metal mesh for an industrial and modern style.
- Plastic Bottles: Repurpose colored plastic bottles for a vibrant, eco-friendly lampshade.
- Natural Elements: Construct shades using items like twigs, leaves, or rope for an earthy appeal.
Experiment with textures, colors, and shapes to craft lampshades that uniquely suit your décor. Adding such personal touches makes your lamp truly yours.
By exploring these creative ideas, you can craft a table lamp that’s functional, inspiring, and completely unique. Let your imagination lead the way!
Safety Tips for DIY Electrical Projects
Working on a DIY table lamp involves handling electrical components. Safety is crucial during such projects. Follow these important safety tips to ensure your lamp is both functional and hazard-free.
Ensuring Proper Wiring and Insulation
- Use High-Quality Wiring: Choose wires with proper voltage and heat resistance ratings.
- Inspect for Damage: Check all wires for cuts or fraying before using them.
- Secure Connections: Tighten all wire connections at sockets, switches, and plugs.
- Apply Insulation Tape: Cover exposed wires with insulation tape to avoid short circuits.
- Avoid Overloading Circuits: Use bulbs that fit the socket’s wattage rating to prevent overheating.
Proper wiring and insulation prevent electrical hazards and ensure the lamp operates safely.
Avoiding Common Mistakes During Assembly
- Follow Instructions: Refer to the lamp kit manual for assembly guidance.
- Turn Off Power: Always disconnect your project from electricity before working on the wiring.
- Double-Check Polarity: Confirm the wires connect to the correct terminals before plugging in.
- Test Gradually: Use a low-power bulb for the first test to ensure basic functionality.
- Stabilize the Base: Ensure the lamp is stable to prevent toppling over while in use.
Avoiding these mistakes ensures your DIY table lamp is safe and long-lasting. Always prioritize safety over speed when crafting your lamp.
Maintenance and Care for Your DIY Desk Lamp
Taking proper care of your DIY table lamp ensures it remains functional and visually appealing. Regular maintenance also extends its lifespan and prevents unnecessary damage.
Cleaning Tips for Long-Lasting Shine
- Dust Regularly: Make it a habit to dust your lamp regularly. Use a soft cloth or feather duster to remove dirt and dust that accumulate over time. This simple step helps maintain its shine and appearance.
- Clean Lampshades: For lampshades made of fabric or plastic, gently wipe them with a damp cloth. If the shade is metal, use a mild cleaner to avoid scratching the surface. This care will ensure the lampshades remain spotless.
- Polish the Base: If your lamp has a wooden or metallic base, apply a suitable polish. Polishing enhances shine and offers protection against scratches or fading. This makes your lamp look fresh and new.
- Avoid Harsh Chemicals: Steer clear of harsh cleaning solutions. Use gentle cleaners instead, as strong chemicals can cause discoloration or damage to finishes. Protect your lamp’s beauty with safe cleaning products.
- Unplug Before Cleaning: Always disconnect the lamp from power before you start cleaning. This practice ensures safety and reduces the risk of electric shock while you work.
Regular cleaning will keep your lamp looking beautiful and functioning efficiently for years to come.
Troubleshooting Common Issues
- Flickering Light: Check the bulb and socket for loose connections and replace if necessary.
- Faulty Wiring: Inspect cords for wear or fraying. Replace damaged wiring promptly.
- Overheating: Ensure bulb wattage matches socket capacity to prevent excessive heat.
- Unstable Lamp Base: Tighten screws or add weight to the base to keep it steady.
- Burnt-Out Bulbs: Replace bulbs with energy-efficient options like LEDs for longer life and better lighting.
Addressing issues quickly ensures your DIY table lamp remains safe and reliable.
Inspiring DIY Lamp Projects from Around the World
Crafting DIY table lamps is a global activity showcasing creativity and culture. People from different regions bring unique ideas, techniques, and materials to their lamp projects. From simple beginner-friendly designs to complex masterpieces, these innovations inspire DIY enthusiasts worldwide.
Innovative Designs for Beginners
Beginners can start with simple yet striking designs that require minimal tools and effort:
- Teacup Lamps: Use vintage teacups as lamp bases for a charming and delicate look.
- Pinecone Bases: Attach cleaned pinecones to a sturdy base for a natural and rustic vibe.
- Can Lamps: Reuse tin cans as bases, painting or decorating them to match your room’s style.
- Fabric-Covered Lampshades: Wrap plain lampshades with colorful fabric to create a customized look.
- PVC Pipe Creations: Use cut and shaped PVC pipes to make lightweight, modern table lamps.
These projects are easy to complete, with common materials and basic tools readily available at home.
Advanced Projects for Experienced DIYers
For seasoned crafters, challenging projects allow for unique, intricate designs:
- Arc Lamps: Create arched designs by combining metal poles and weighted bases.
- Stained Glass Shades: Assemble stained glass pieces to create vibrant, colorful lampshades.
- Epoxy Resin Lamp Bases: Pour epoxy resin with embedded decorations for a durable, artistic base.
- Industrial Pipe Lamps: Use metal pipes and fittings for a bold, industrial statement piece.
- Smart Lamps: Integrate LED strips and sensors for color-changing or motion-activated lighting effects.
Advanced designs demand precision, patience, and specialized tools but result in stunning, head-turning lamps.
Exploring these diverse DIY table lamp projects, from simple to challenging, allows anyone to find inspiration. Whether a beginner or a pro, the creative possibilities are endless!