 Introduction:
Making a chandelier may seem like a daunting task, but with the right materials, tools, and techniques, you can create a stunning lighting fixture that perfectly complements your space. In this comprehensive article, we will provide a step-by-step guide on how to make a chandelier. From gathering materials and designing the layout to wiring and installing the final product, this guide will help you unleash your creativity and add a personalized touch to your home decor.
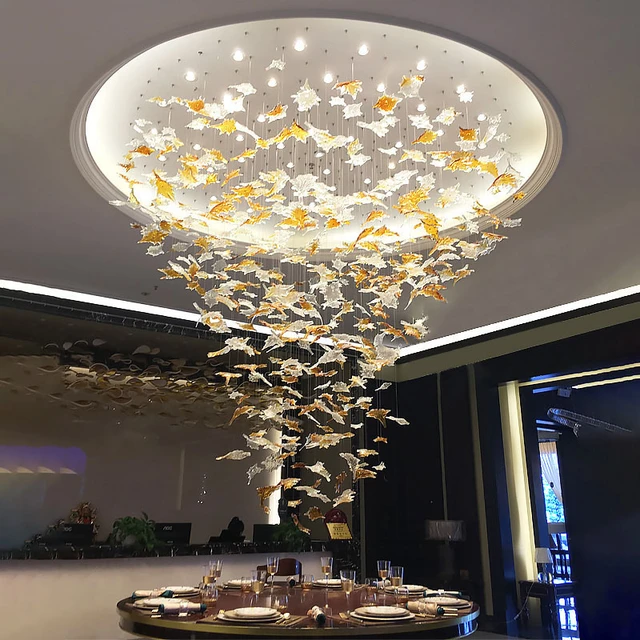 Here are some common types of chandeliers:
There are various types of chandeliers, each with its own unique design and style. Here are some common types of chandeliers:
Crystal chandeliers:
These chandeliers feature multiple arms adorned with crystal or glass elements, creating a dazzling and luxurious look. Crystal chandeliers are often associated with elegance and can add a touch of glamour to any space.
Traditional chandeliers:
Traditional chandeliers typically have a classic design with intricate details, such as ornate metalwork and candle-style lights. They often feature materials like brass, bronze, or wrought iron, and are suited for formal and traditional settings.
Modern/contemporary chandeliers:
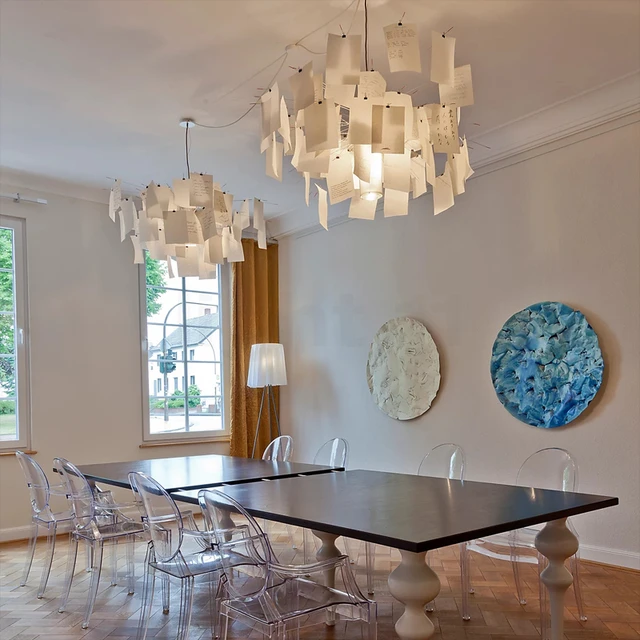
These chandeliers feature sleek lines, minimalist designs, and innovative materials. They can range from abstract and artistic designs to clean and geometric shapes. Modern chandeliers often incorporate elements like glass, metal, or even unconventional materials like acrylic or wood.
Rustic/farmhouse chandeliers:
Rustic or farmhouse chandeliers typically feature distressed wood, wrought iron, or natural elements like rope or burlap. They have a more casual and rustic charm, often evoking a cozy and country-inspired ambiance.
Pendant chandeliers:
Pendant chandeliers are a blend of pendant lights and chandeliers. They typically consist of a single light fixture or a cluster of lights suspended from a canopy or a central rod. Pendant chandeliers are versatile and can work well in various design styles, offering a contemporary yet elegant look.
Drum chandeliers:
Drum chandeliers feature a drum-shaped shade around the light source, creating a clean and modern appearance. They can come in various materials, such as fabric, metal, or glass, and are a popular choice for contemporary or transitional interiors.
Mini chandeliers:
Mini chandeliers are smaller in size and are often used in spaces with limited ceiling height or where a smaller focal point is desired. They come in a variety of styles, from traditional to contemporary, and are suitable for adding a touch of elegance to smaller rooms or entryways.
These are just a few examples of the different types of chandeliers available. Ultimately, the choice of chandelier will depend on the desired style, size, and aesthetic of the space.
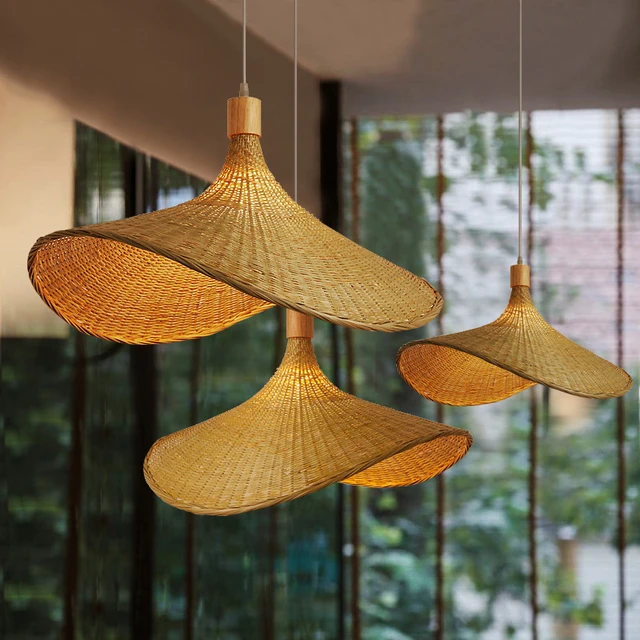 Gathering Materials and Tools
Chandelier Frame:
Choose a chandelier frame that suits your desired style and size.
Consider factors such as material, shape, and design elements that will enhance your overall vision.
Lighting Components:
Select appropriate lighting components, such as sockets, bulbs, and wires, based on your electrical requirements and personal preferences.
Ensure that all components are of good quality and compatible with your chandelier frame.
Decorative Elements:
Determine the decorative elements you want to incorporate into your chandelier, such as crystal beads, glass shades, or metal accents.
Gather these materials, ensuring they harmonize with your chandelier frame and desired aesthetic.
Designing the Layout
Sketching the Design:
Use pen and paper or a digital design tool to sketch your chandelier design.
Consider the arrangement and placement of lighting components, decorative elements, and any unique features you want to include.
Measurements and Spacing:
Take accurate measurements of your chandelier frame and the space where it will be installed.
Ensure that the proportions and spacing of your design align with your space and desired aesthetic.
Wiring and Assembly
Wiring Preparation:
Familiarize yourself with the basics of electrical wiring and safety precautions.
Strip and prepare wire ends for connection, and secure all wiring connections with appropriate connectors.
Installing Lighting Components:
Follow the instructions provided with each lighting component to properly install sockets, bulbs, and any additional wiring needed.
Attach these components to the chandelier frame, ensuring they are securely fastened and properly aligned.
Adding Decorative Elements:
Incorporate your chosen decorative elements, such as crystal beads or glass shades, into the chandelier design.
Create symmetry, balance, and visual interest by strategically placing these elements throughout the frame.
 Installation and Final Touches
Hanging and Wiring the Chandelier:
Check local regulations and ensure that you adhere to safety standards for electrical wiring and installation.
Securely hang and wire your chandelier according to your space’s electrical setup or consult an electrician for professional assistance.
Adjusting and Balancing:
Carefully adjust the height and position of the chandelier to ensure it hangs evenly and at the desired height.
Make any necessary adjustments to achieve proper balance and overall aesthetics.
Final Cleaning and Quality Check:
Clean the chandelier and remove any fingerprints or dust accumulated during the assembly process.
Perform a final quality check on the wiring, lighting components, and decorative elements to ensure they are secure and functioning correctly.
Several advantages:
Making a chandelier yourself, also known as a DIY chandelier, comes with several advantages:
Personalization:
Creating your own chandelier allows you to have complete control over the design and aesthetics. You can customize the materials, colors, and style to perfectly match your personal taste and the existing decor of the room. This gives you the opportunity to create a unique and one-of-a-kind piece that reflects your individuality.
Cost-effectiveness:
DIY chandeliers can be a cost-effective alternative to purchasing a pre-made chandelier. By sourcing materials yourself and using creativity, you can often create a stunning chandelier at a fraction of the cost of a store-bought one. This allows you to allocate your budget towards other aspects of your home decor or even save money.
Creativity and Artistic Expression:
Making a chandelier allows you to express your creativity and unleash your artistic skills. It can be a fulfilling and rewarding experience to transform ordinary materials into a functional and visually appealing lighting fixture. DIY chandeliers can be seen as a form of art, allowing you to showcase your talent and imagination.
Learning New Skills:
Creating your own chandelier provides an opportunity to learn new skills and techniques. From basic wiring and electrical work to crafting and assembling components, the process can expand your knowledge and abilities. This newfound knowledge can be applied to future DIY projects and can empower you to tackle more complex home improvement tasks.
Sense of Accomplishment:
Completing a DIY chandelier project can bring a sense of satisfaction and pride in your work. Seeing the end result of your efforts and being able to enjoy a piece that you created with your own hands can be incredibly rewarding.
Eco-Friendly and Sustainable:
DIY chandeliers often involve repurposing or upcycling materials, making them environmentally friendly and sustainable. By reusing items or incorporating natural elements, you can reduce waste and contribute to a more eco-conscious lifestyle.
Making a chandelier yourself allows for personalization, cost-effectiveness, artistic expression, skill development, a sense of accomplishment, and sustainability. It can be a fulfilling and enjoyable endeavor that adds a unique touch to your home decor.
 Conclusion:
Creating your own chandelier can be a rewarding and fulfilling process. By following this step-by-step guide, you can design and assemble a beautiful lighting fixture that adds a personal touch to your home decor. Remember to prioritize safety throughout the process and consult professionals when needed. With the right materials, tools, and techniques, you can bring your chandelier design to life and bask in the warm glow of your stunning creation.

