 Introduction:
LED ceiling lights have become increasingly popular for their energy efficiency, longevity, and versatility. If you are looking to replace your existing ceiling lights with LED fixtures, this article will provide you with a step-by-step guide on how to replace LED ceiling lights. By following these simple instructions, you can upgrade your lighting and enjoy the benefits of LED technology.
 Assess Your Current Lighting
Before replacing your ceiling lights with LED fixtures, it is important to assess your current lighting setup.
Type of Existing Ceiling Lights: Determine the type of existing ceiling lights you have, whether they are recessed lights, flush-mount fixtures, or pendant lights.
Compatibility: Ensure that the LED fixtures you choose are compatible with your existing wiring and electrical components.
Choose the Right LED Ceiling Lights
Selecting the right LED ceiling lights for your space is important for achieving the desired aesthetic and functionality.
Style and Design: Consider the style and design of the LED fixtures to ensure they complement your existing decor and match the overall theme of the room.
Size and Dimensions: Measure the dimensions of your current fixtures to choose LED lights that are the suitable size for your ceiling.
Lumens and Color Temperature: Determine the appropriate lumens (brightness) and color temperature (warm or cool white) for your desired lighting ambiance.
 Gather the Necessary Tools
Before starting the installation process, gather the tools needed for replacing your LED ceiling lights.
Screwdriver: Have a screwdriver available for removing any screws or mounting brackets.
Pliers: Pliers may be required to disconnect wiring or make adjustments during the installation.
Wire Cutter: A wire cutter is necessary to trim and strip wires during the replacement process.
Turn Off the Power
Ensure the safety of the installation process by turning off the power supply to the existing ceiling lights.
Locate the Circuit Breaker: Locate the circuit breaker that controls the electricity to the lighting fixture you are replacing.
Turn Off the Power: Flip the switch or trip the circuit breaker to cut off the power supply.
Remove the Existing Ceiling Lights
To replace your existing ceiling lights, remove them by following these simple steps.
Remove the Fixture Cover: Gently unscrew or unclip the cover of the existing ceiling light fixture and set it aside.
Disconnect Wiring: Carefully disconnect the wiring connections by removing wire nuts and separating the wires.
Remove Mounting Bracket: If there is a mounting bracket holding the fixture in place, unscrew it and remove it from the ceiling.
Remove the Old Fixture: Once the wiring and mounting bracket are detached, remove the old fixture from the ceiling.
Install the New LED Ceiling Light
Now that you have removed the old fixture, it is time to install your new LED ceiling light.
Mounting Bracket: If your new LED fixture requires a mounting bracket, follow the manufacturer’s instructions to secure it to the ceiling.
Connect the Wiring: Match the wires from the new LED fixture with the corresponding wires from the ceiling. Connect them using wire nuts and ensure a secure connection.
Attach the New Fixture: Align the new LED light fixture with the mounting bracket (if applicable) and secure it in place using screws or clips provided.
Install the Fixture Cover: Place the fixture cover over the new LED fixture and fasten it according to the manufacturer’s instructions.
Restore Power and Test the New Lighting
After installing the new LED ceiling light, restore power and test the functionality.
Restore Power: Flip the switch or reset the circuit breaker to restore power to the replaced LED ceiling light.
Test Functionality: Turn on the light switch, and ensure that the new LED fixture functions properly and provides the desired lighting.
Final Adjustments and Clean Up
Make any necessary adjustments to the new LED ceiling light and complete the installation process.
Adjust Positioning: If needed, adjust the positioning of the new fixture to ensure proper lighting coverage and desired aesthetics.
Secure Wires and Cover: Check that all wiring connections are secure, and ensure the fixture cover is fully attached.
Clean Up: Dispose of any packaging materials and clean up any debris resulting from the installation process.
 Main differences between a chandelier and an LED ceiling light:
The main differences between a chandelier and an LED ceiling light are as follows:
Design:
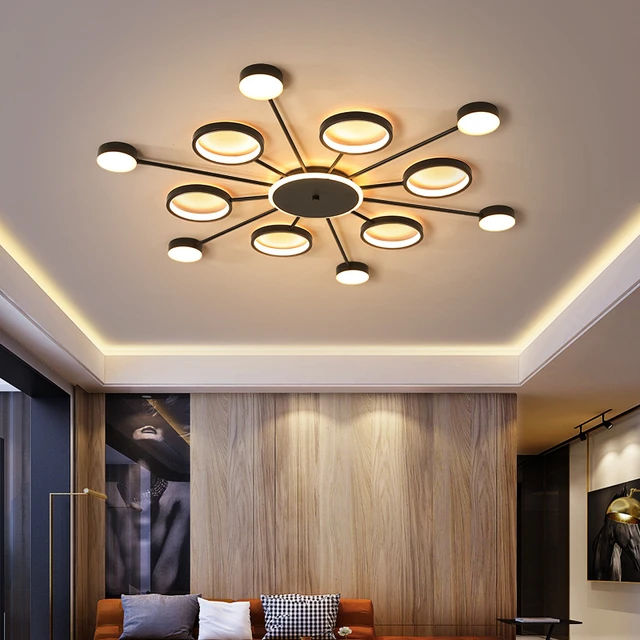
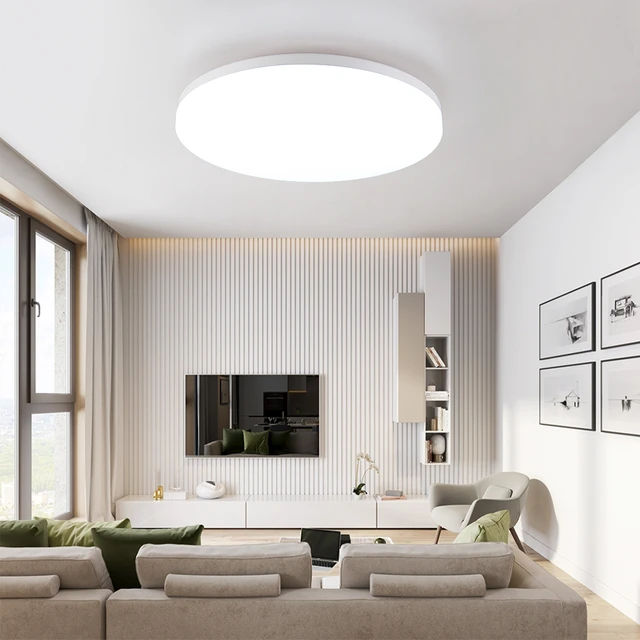
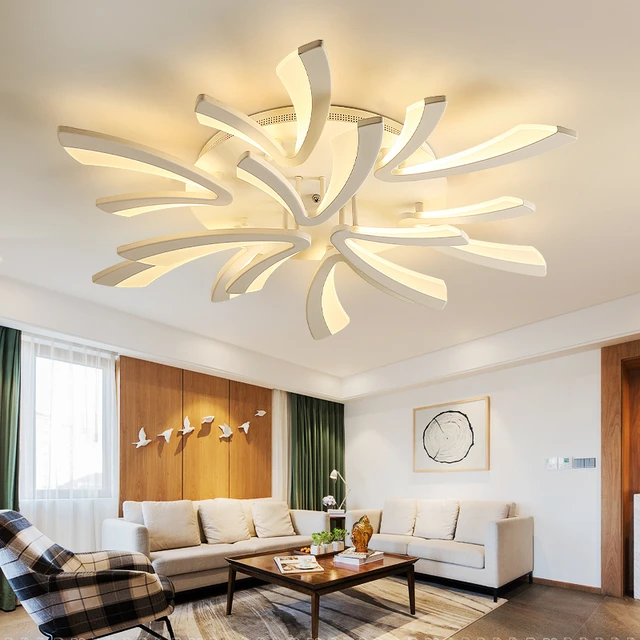
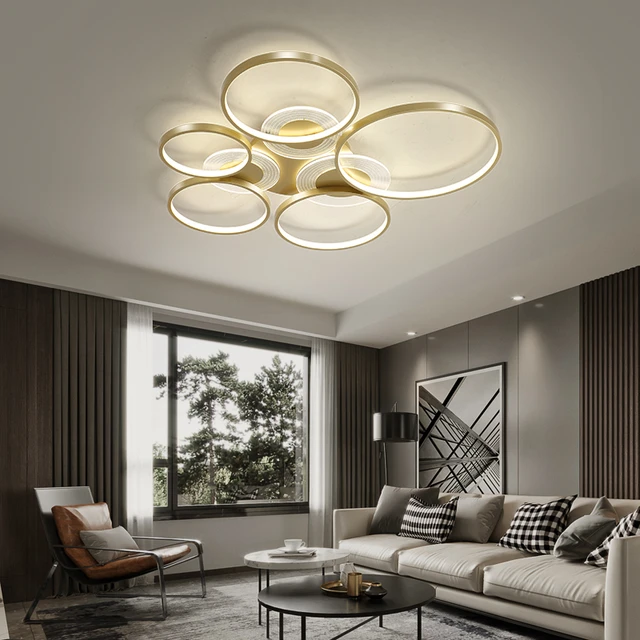
Chandeliers are typically elaborate, decorative light fixtures that often feature multiple arms or branches, adorned with crystals, glass, or other decorative elements. They are designed to make a statement and add elegance to a space. LED ceiling lights, on the other hand, come in a variety of designs, including flush mount, semi-flush mount, or recessed lights, and are usually simpler in design.
Light source:
Chandeliers traditionally use candles or incandescent bulbs, although nowadays they can also use LED bulbs. LED ceiling lights, as the name suggests, use LED (light-emitting diode) technology. LED lights are energy-efficient, long-lasting, and provide bright illumination.
Lighting effect:
Chandeliers often provide diffused or reflected light, creating a soft and warm ambiance. The crystals or other decorative elements can enhance the light distribution and create a sparkling effect. LED ceiling lights offer focused and directional illumination, making them suitable for task lighting or general illumination purposes.
Room placement:
Chandeliers are commonly used in grand or formal areas such as dining rooms, entryways, or high-ceilinged spaces. They are often suspended from the ceiling with a chain or rod, making them a prominent focal point in a room. LED ceiling lights are versatile and can be used in various areas like bedrooms, kitchens, or bathrooms, depending on the design and functionality.
Energy efficiency:
LED ceiling lights are known for their energy efficiency and long lifespan. They consume less energy and produce less heat compared to traditional incandescent bulbs used in chandeliers.
Maintenance:
Chandeliers with intricate designs and delicate materials may require more maintenance compared to LED ceiling lights, which are typically easier to clean and maintain.
Consider the overall style, lighting needs, and the desired impact when deciding between a chandelier and an LED ceiling light. Chandeliers add a touch of luxury and elegance, while LED ceiling lights offer energy efficiency, versatility, and functionality.
 Conclusion:
Replacing your ceiling lights with LED fixtures can enhance the lighting quality, energy efficiency, and longevity of your space. By following this step-by-step guide, you can successfully replace your existing ceiling lights with LED technology. Remember to assess your current lighting, choose the right LED fixtures, gather the necessary tools, turn off the power, remove the existing lights, install the new LED fixtures, test the functionality, and make final adjustments. Enjoy the benefits of LED lighting and the enhanced ambiance it brings to your home or workspace.