 Introduction:
Cutting LED light strips is a simple and effective way to customize the length and fit them to your desired application. However, it is essential to do it correctly to avoid damaging the lights and ensure proper functionality. In this comprehensive guide, we will provide a step-by-step walkthrough of how to cut LED light strips. By following these easy instructions, you can confidently customize your LED light strips to fit your specific needs and create stunning lighting effects.
 Introduction to Cutting LED Light Strips
Cutting LED light strips allows for customization and flexibility in installation.
A. Importance of Proper Cutting: Correctly cutting LED light strips ensures that they fit the desired length and maintain their functionality.
B. Considerations: Before cutting, measure and plan the desired lengths, keeping in mind the locations of connectors and the availability of power sources.
Preparing for Cutting
Preparing the LED light strips before cutting ensures a successful process.
A. Identify Cut Points: LED light strips typically have designated cut points marked with dashed lines or copper solder pads.
B. Gather Tools: Gather the necessary tools, including a sharp pair of scissors or wire cutters.
Measuring and Marking
Accurate measuring and marking ensure precise cuts.
A. Take Measurements: Measure the desired length of the LED light strip and mark it with a pencil or marker.
B. Avoid Damaging LEDs: Ensure that the cut point falls between the copper solder pads without damaging the LEDs themselves.
 Making the Cut
Proper cutting techniques are crucial for achieving clean and functional results.
A. Scissors Method: If using scissors, cut along the marked line, making a straight and clean cut.
B. Wire Cutter Method: If using wire cutters, carefully apply pressure to cut through the LED light strips along the marked line.
Sealing the Cut End
Sealing the cut end provides protection and ensures a secure connection.
A. Apply Electrical Tape: After cutting, apply electrical tape over the exposed copper solder pads to insulate and protect the connections.
B. Ensure Proper Adhesion: Make sure the electrical tape sticks securely to the strip to prevent any loose connections or exposed wires.
Testing the Cut Strip
Testing the cut LED light strip confirms functionality.
A. Connect Power: Connect the power source or controller to the cut end of the LED light strip, ensuring polarity is correct.
B. Secure Connection: Ensure a secure and positive connection is made to provide power and test if the cut section properly illuminates.
 Attaching Connectors (Optional)
Attaching connectors may be necessary to extend or rejoin the cut strips.
A. Select Appropriate Connectors: Choose connectors that are compatible with your LED light strip type, such as solderless connectors or soldering for more permanent connections.
B. Follow Manufacturer’s Instructions: Consult the manufacturer’s instructions for properly attaching connectors and ensuring proper electrical connections.
LED Light Strips, Fluorescent Lights, and Incandescent Lights:
Light Strips, Fluorescent Lights, and Incandescent Lights have distinct differences in terms of technology, energy efficiency, lifespan, and lighting effects.
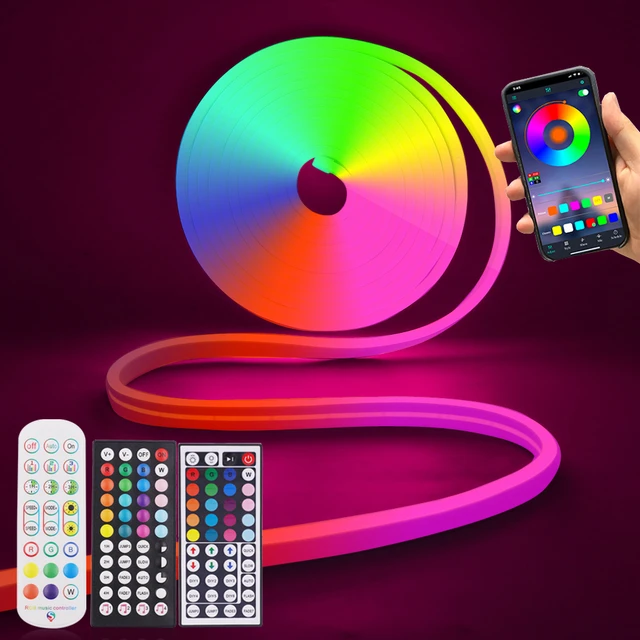
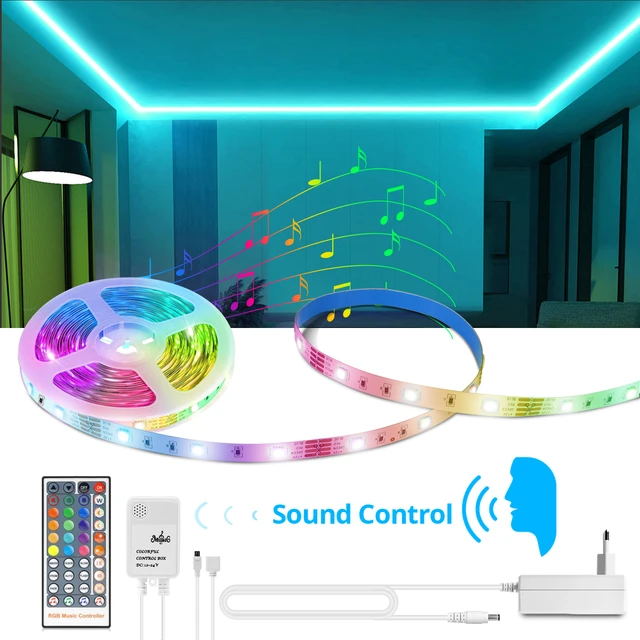
LED Light Strips:
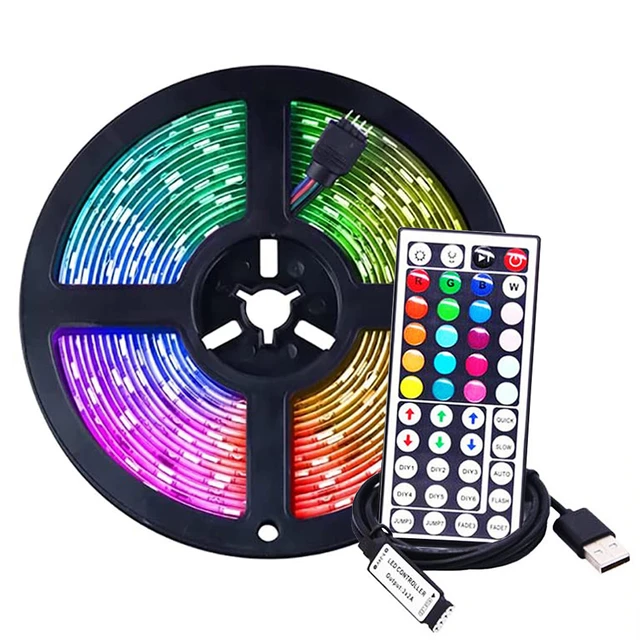
LED light strips consist of multiple small LED (Light Emitting Diode) bulbs mounted on a flexible strip. They offer various colors and allow for customizable lighting effects. LED light strips are energy-efficient, emitting very little heat, and have a long lifespan. They are commonly used for decorative lighting, accent lighting, or to create ambiance in both residential and commercial spaces.
Fluorescent Lights:
Fluorescent lights use gas and mercury vapor to produce ultraviolet (UV) light, which excites phosphors on the inside of the bulb, creating visible light. They are tube-shaped and often used in large commercial or industrial spaces. Fluorescent lights are more energy-efficient than incandescent lights but less efficient than LEDs. They have a longer lifespan than incandescent lights and are well-suited for areas requiring broad, evenly-distributed light, such as offices, warehouses, and retail stores.
Incandescent Lights:
Incandescent lights produce light by passing an electric current through a wire filament, causing it to heat up and emit light. They are the traditional, warm, and yellow-hued light bulbs. Incandescent lights have a shorter lifespan and are less energy-efficient compared to both LED light strips and fluorescent lights. They are commonly used in residential settings, but their production is being phased out due to energy consumption.
In summary, LED light strips offer energy efficiency, customizable lighting effects, and a long lifespan. Fluorescent lights are energy-efficient and suitable for larger spaces that require broad lighting. Incandescent lights, although less efficient and with a shorter lifespan, provide a traditional warm light commonly used in homes.
Keep the following precautions in mind:
When cutting LED light strips, it’s important to keep the following precautions in mind:
Safety First:
Ensure that the LED light strip is disconnected from any power source before attempting to cut it. This will prevent any risk of electric shock.
Cutting at Designated Marks:
LED light strips usually have designated cutting marks or sections where they can be safely cut. These marks indicate where the strip can be separated without damaging the LEDs or the circuit.
Use Appropriate Tools:
Use sharp and precise cutting tools to ensure clean and accurate cuts. Scissors, a utility knife, or wire cutters can be suitable options depending on the thickness and type of LED light strip.
Follow Cutting Instructions:
Some LED light strips may have specific cutting instructions provided by the manufacturer. It’s essential to read and follow these instructions to ensure proper cutting and to prevent any damage to the strip.
Maintain Polarity:
When reconnecting or reinstalling a cut LED light strip, make sure to maintain the correct polarity. Most LED strips have marked positive (+) and negative (-) terminals, and maintaining the correct polarity is crucial for proper functioning.
Protect Exposed Ends:
After cutting the LED light strip, it’s essential to protect the exposed ends or terminals. This can be done by using solder or connectors specifically designed for LED light strips. It will ensure a secure and reliable electrical connection.
Test Functionality:
Once the LED light strip is reconnected or reinstalled, test the functionality before permanently securing it. This will allow you to identify any issues or defects and make any necessary adjustments or repairs.
By following these precautions, you can safely and effectively cut and customize your LED light strips according to your desired length or installation requirements.
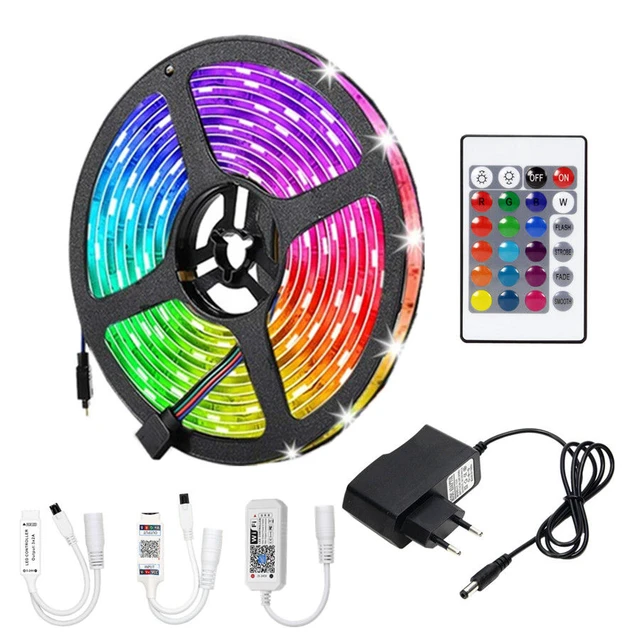
The common components of LED light strips:
LED light strips are typically made up of several layers of different materials. Here are the common components of LED light strips:
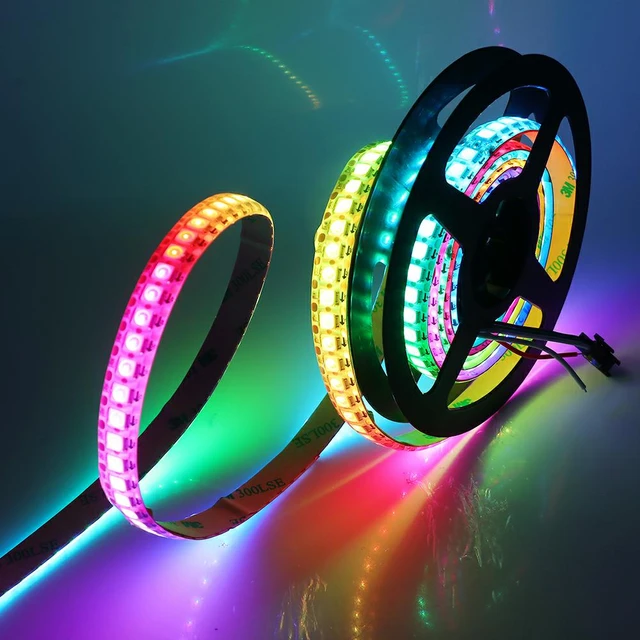
LED Chips:
The actual light-emitting diodes (LEDs) are the essential components of LED light strips. LED chips are typically mounted on a thin circuit board or flexible strip, and they emit light when an electric current passes through them.
Circuit Board:
LED light strips have a circuit board that provides electrical connections and support for the LED chips. The circuit board can be rigid or flexible, depending on the type of LED strip.
Encapsulation:
To protect the LED chips and circuitry, LED light strips are encapsulated with a clear resin or silicone material. This encapsulation provides moisture resistance, durability, and protection against physical damage.
Adhesive Backing:
LED light strips are often equipped with adhesive backing to facilitate easy installation. The adhesive allows the strip to be attached to various surfaces, such as walls, ceilings, or furniture, while providing secure adhesion.
Protective Coating:
Some LED light strips may have an additional protective coating on top of the encapsulation to enhance resistance against UV rays, moisture, or other environmental factors. This coating can provide extra durability and extend the lifespan of the LED strip.
The materials used in LED light strips are specifically chosen to ensure proper functioning, longevity, and safety. The combination of these materials allows LED light strips to be flexible, versatile, and suitable for various lighting applications, including decorative lighting, accent lighting, or task lighting.
 Conclusion
Cutting LED light strips allows for customization and versatility in various lighting applications. By following the step-by-step instructions provided in this guide, you can confidently cut and customize your LED light strips to your desired length, ensuring proper functionality and beautiful lighting effects. Remember to prepare the strips, measure and mark accurately, use the proper cutting techniques, seal the cut ends, and test the functionality of the cut section. Whether for residential or commercial use, cutting LED light strips enables you to create stunning lighting designs and enhance your space with personalized illumination.